Update appointment
Introducing the new appointment update feature in Ektos-health, designed for healthcare professionals seeking to streamline patient care
Go to test.ektos-health.in
1. Introduction
This feature enables precise tracking of vital health information, enhancing the quality of care and improving patient outcomes by ensuring all data is current and accurate.
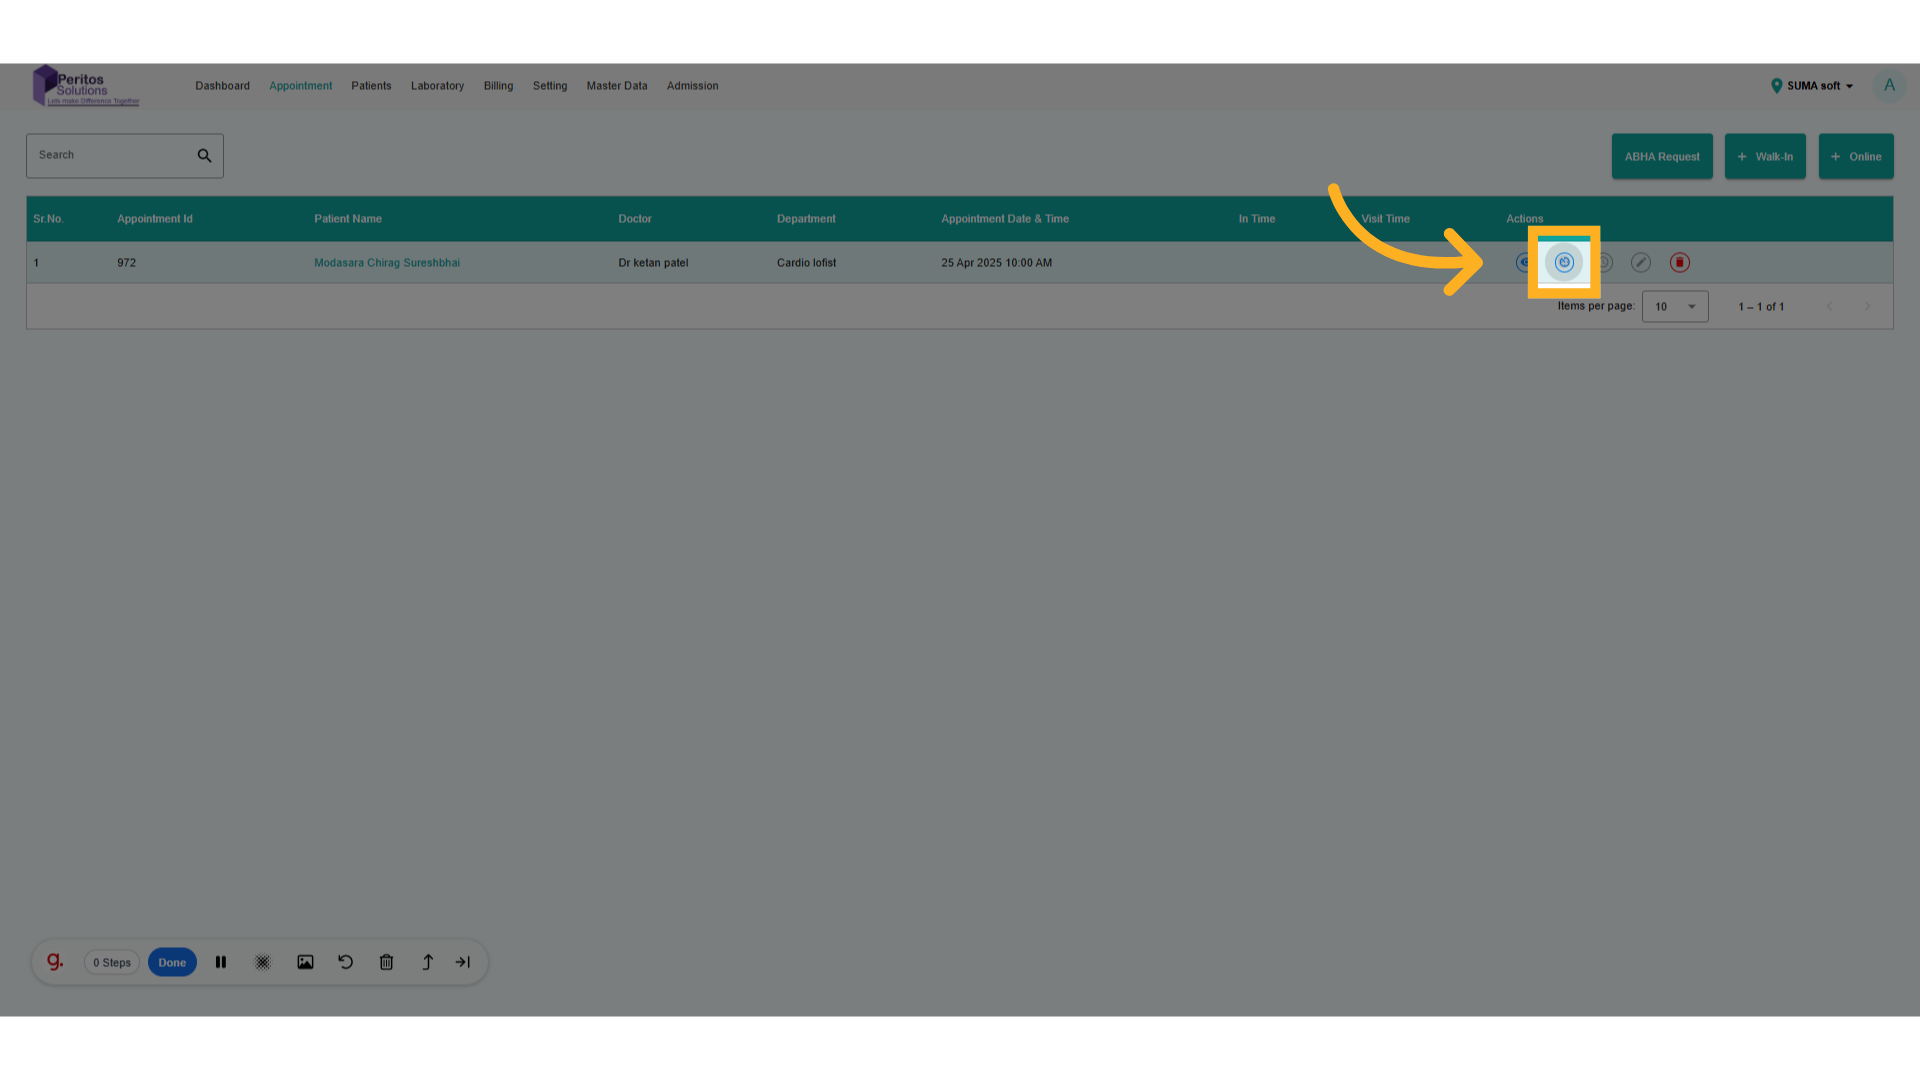
2. Click here Add In time
Begin by navigating to the main dashboard, where you can efficiently manage your appointments and streamline the update process.
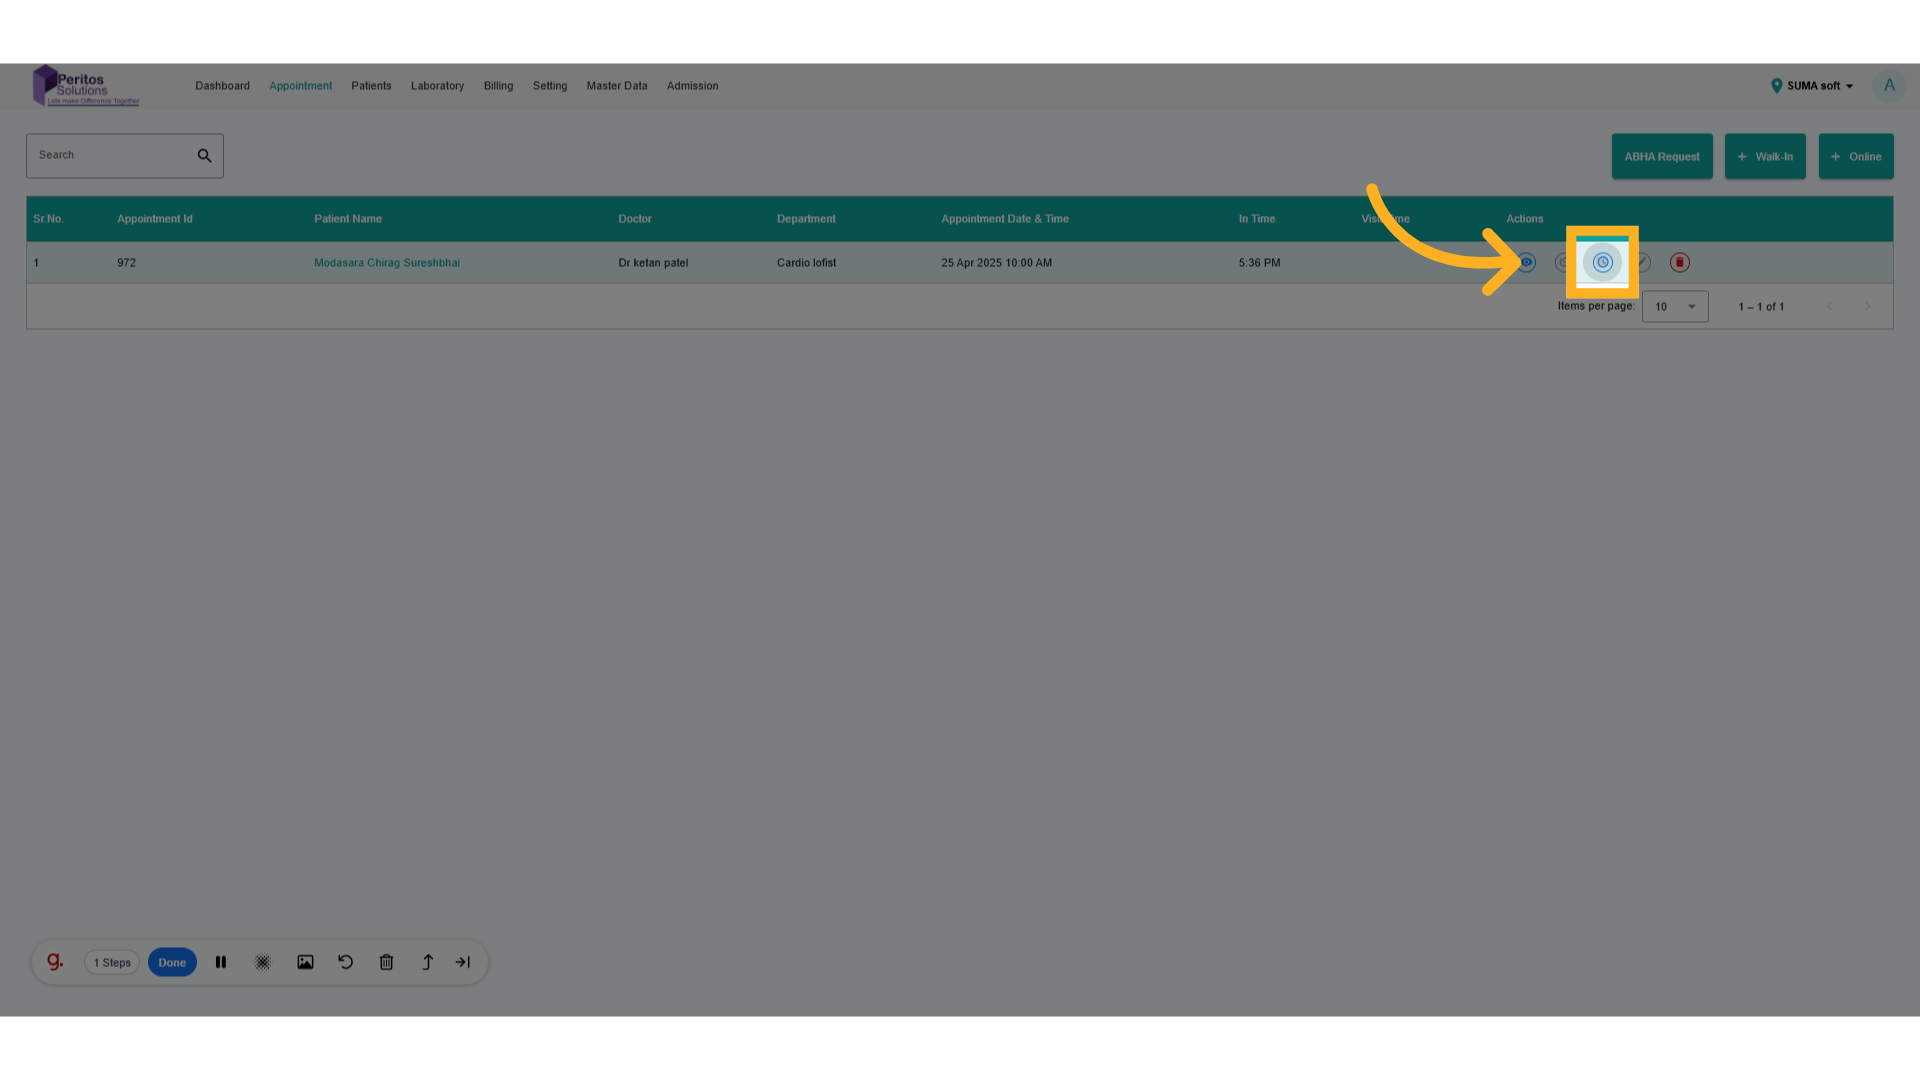
3. Click here Add Visit time
Select the relevant appointment to ensure you’re working with the correct details, reducing the risk of errors.
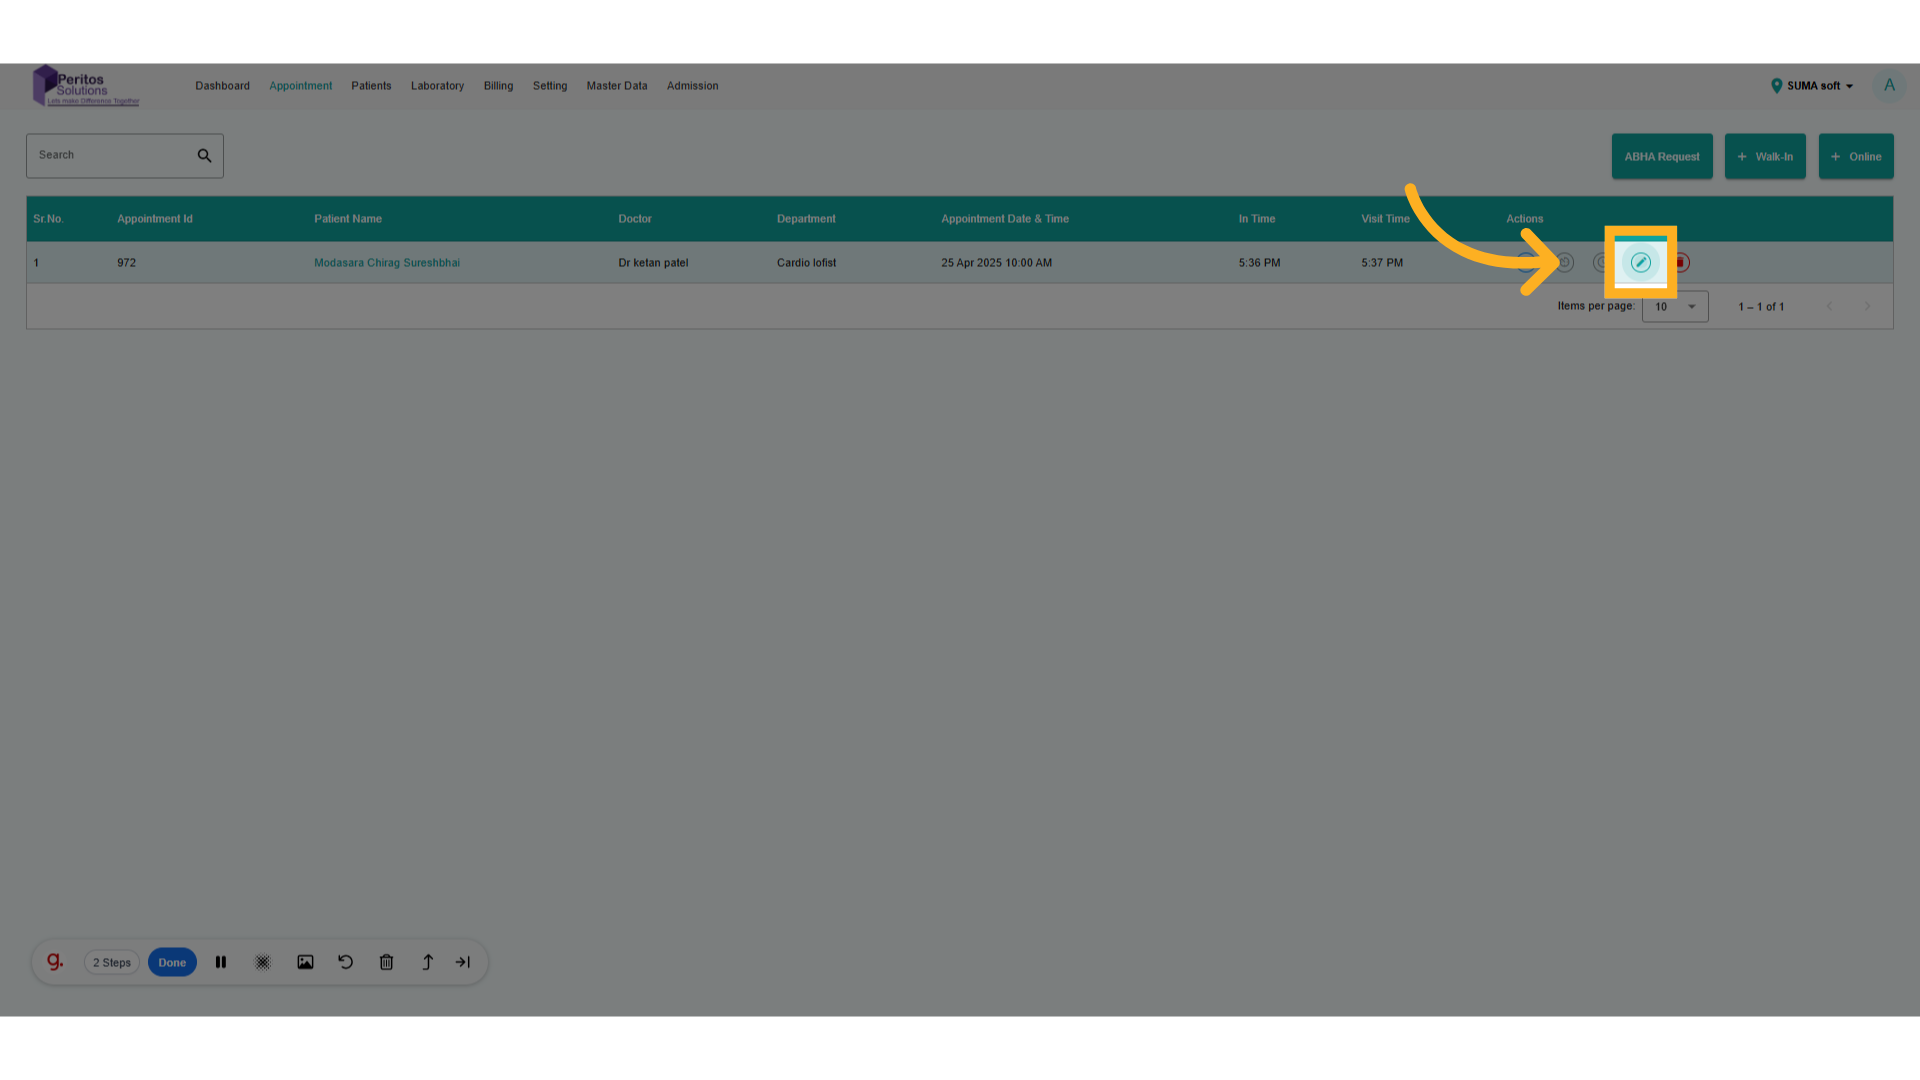
4. Click here to update appointment
Access the appointment’s detail view, allowing you to make precise adjustments tailored to patient needs.
5. Go here and add details
Navigate to the relevant input fields to ensure you have comprehensive data for better decision-making.

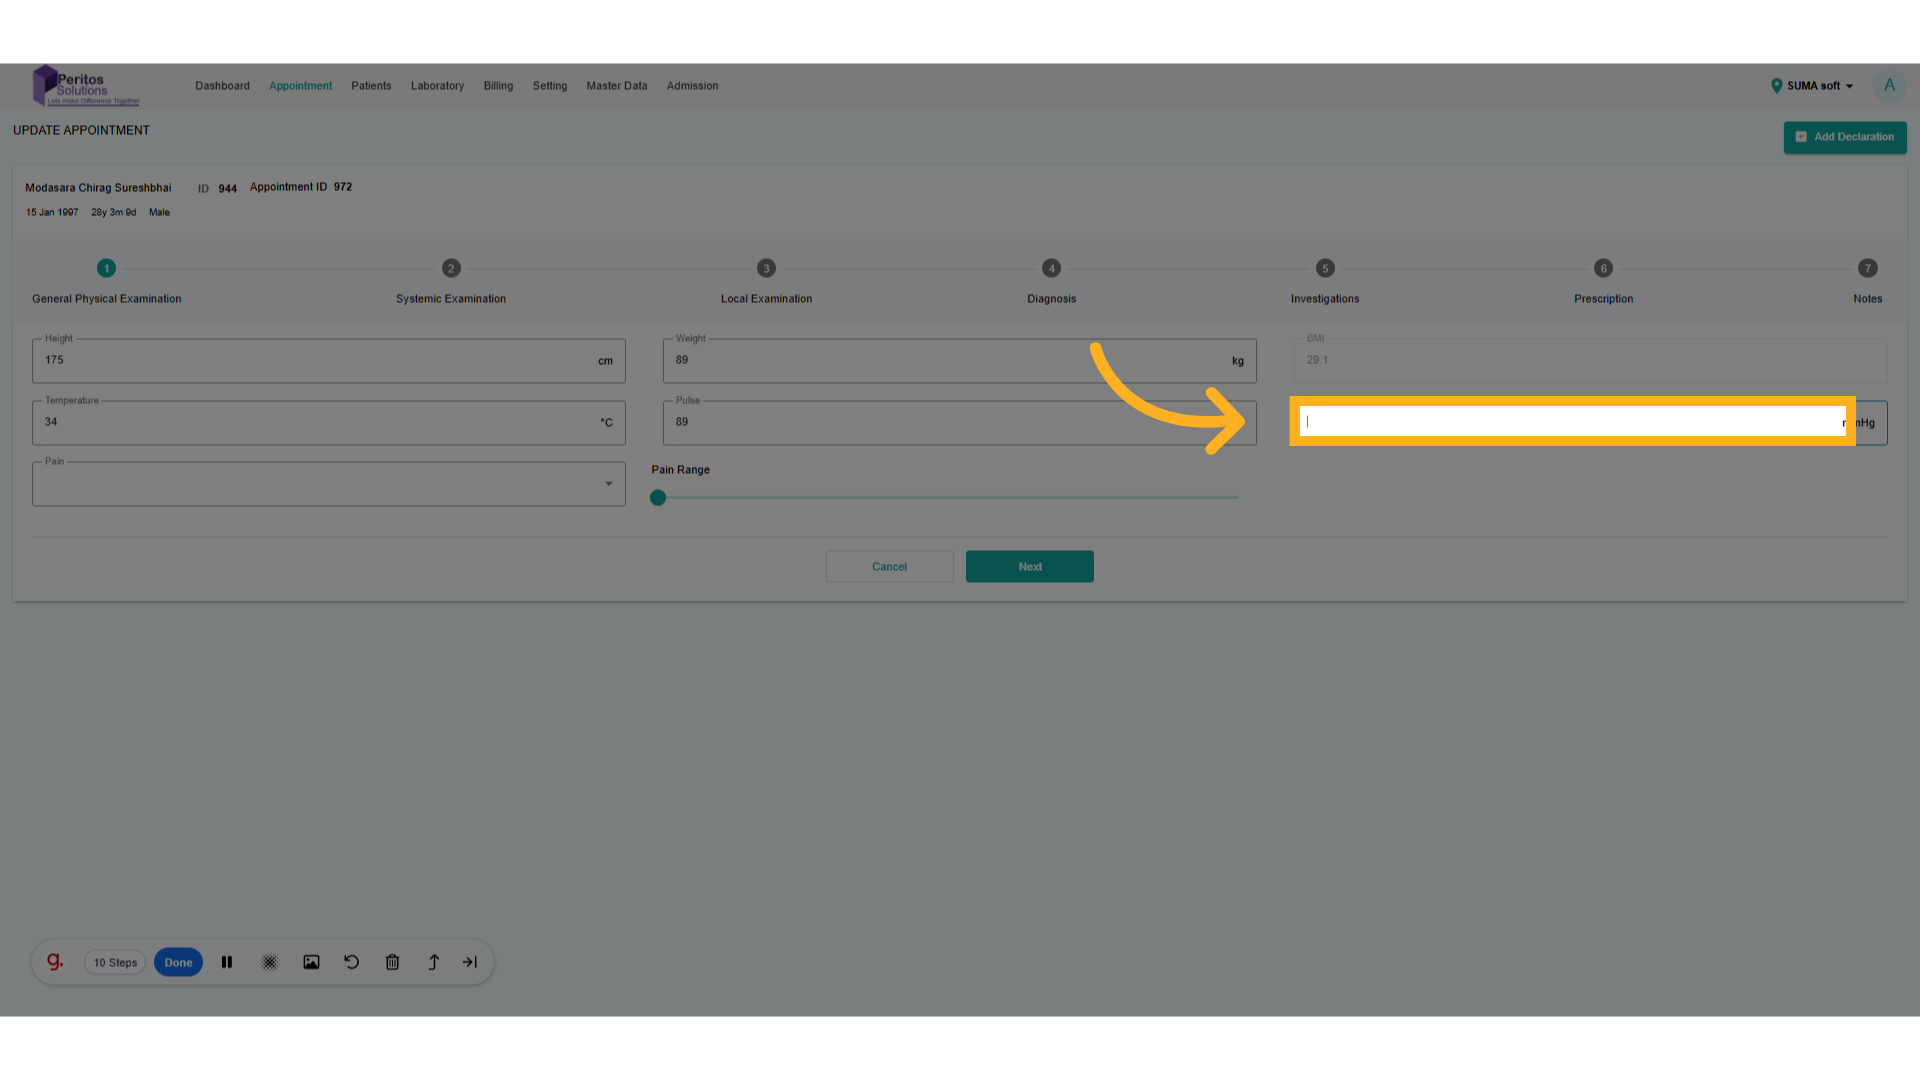
6. Go here and add details
Continue your adjustments to maintain a consistent flow in updating appointment details, ensuring everything is up-to-date.
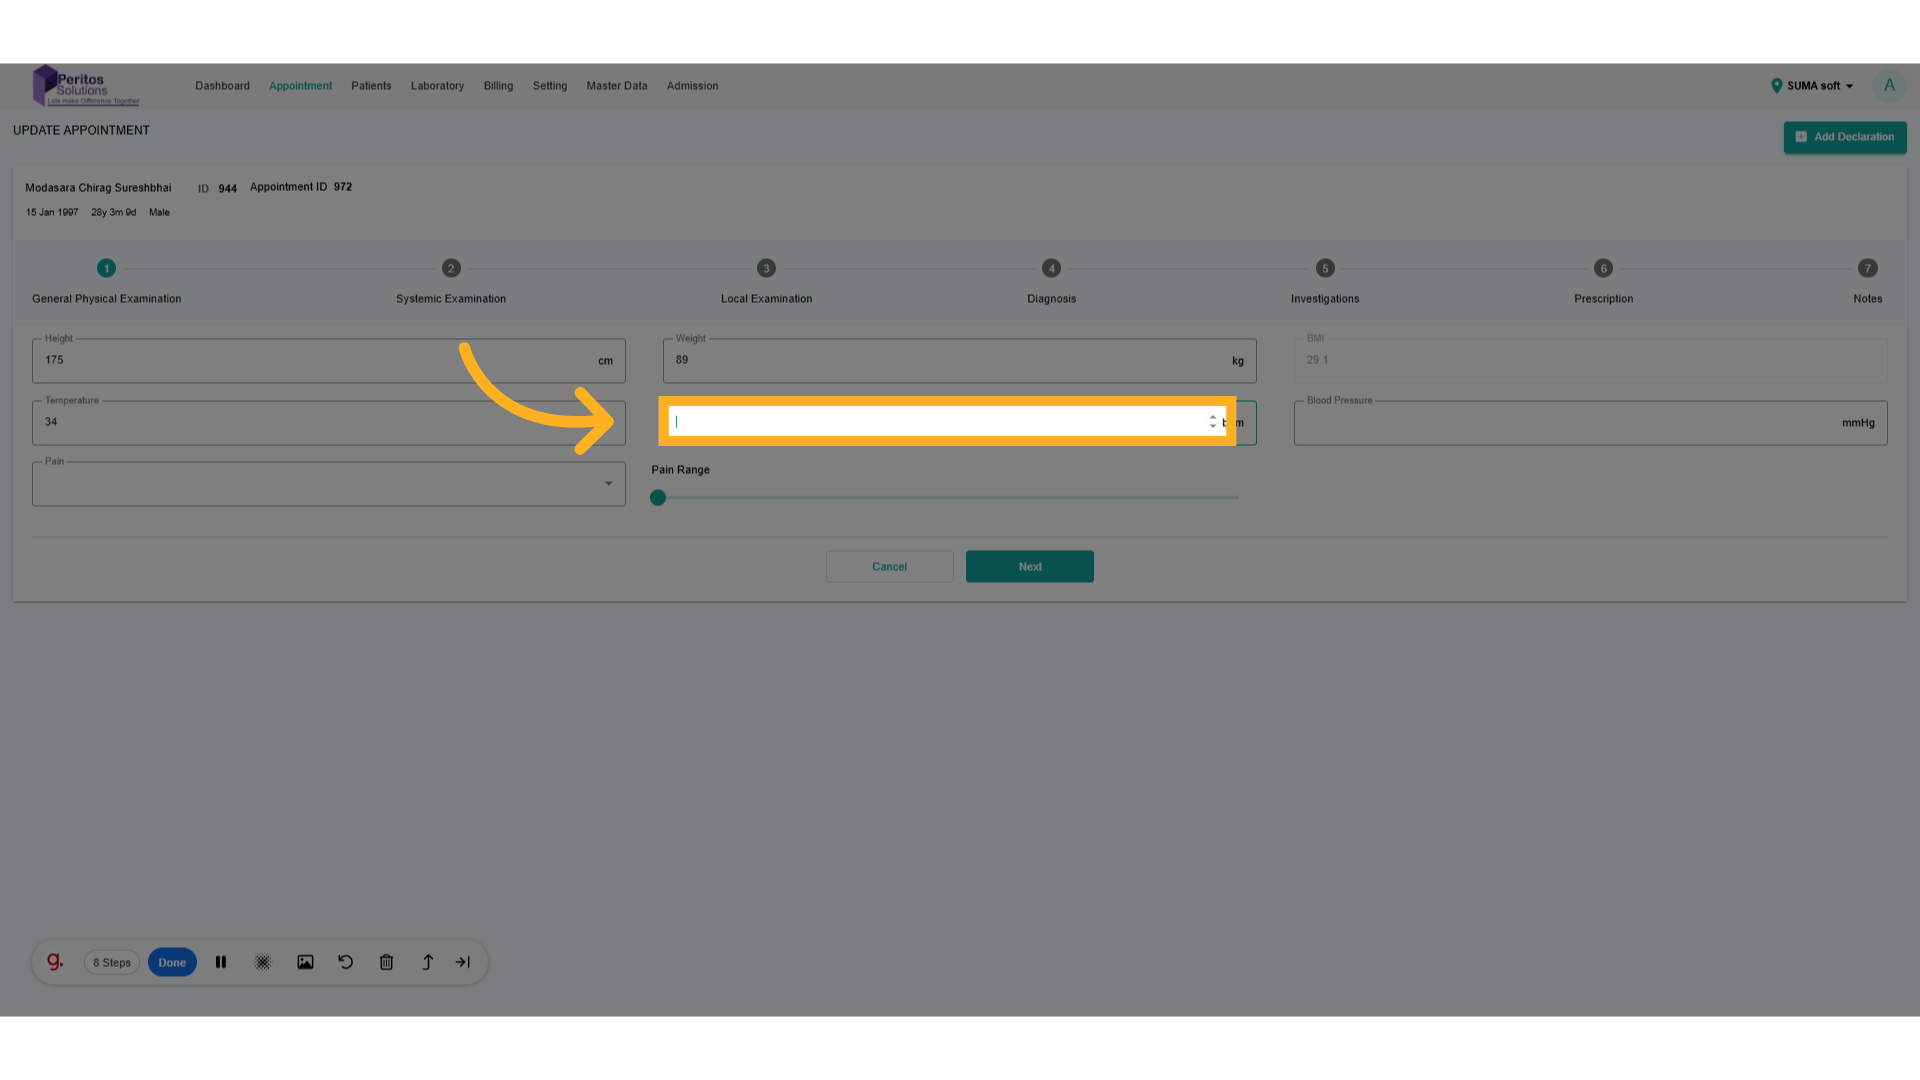
7. Go here and add details
Head to the next section to finalize your updates in a cohesive manner for review.
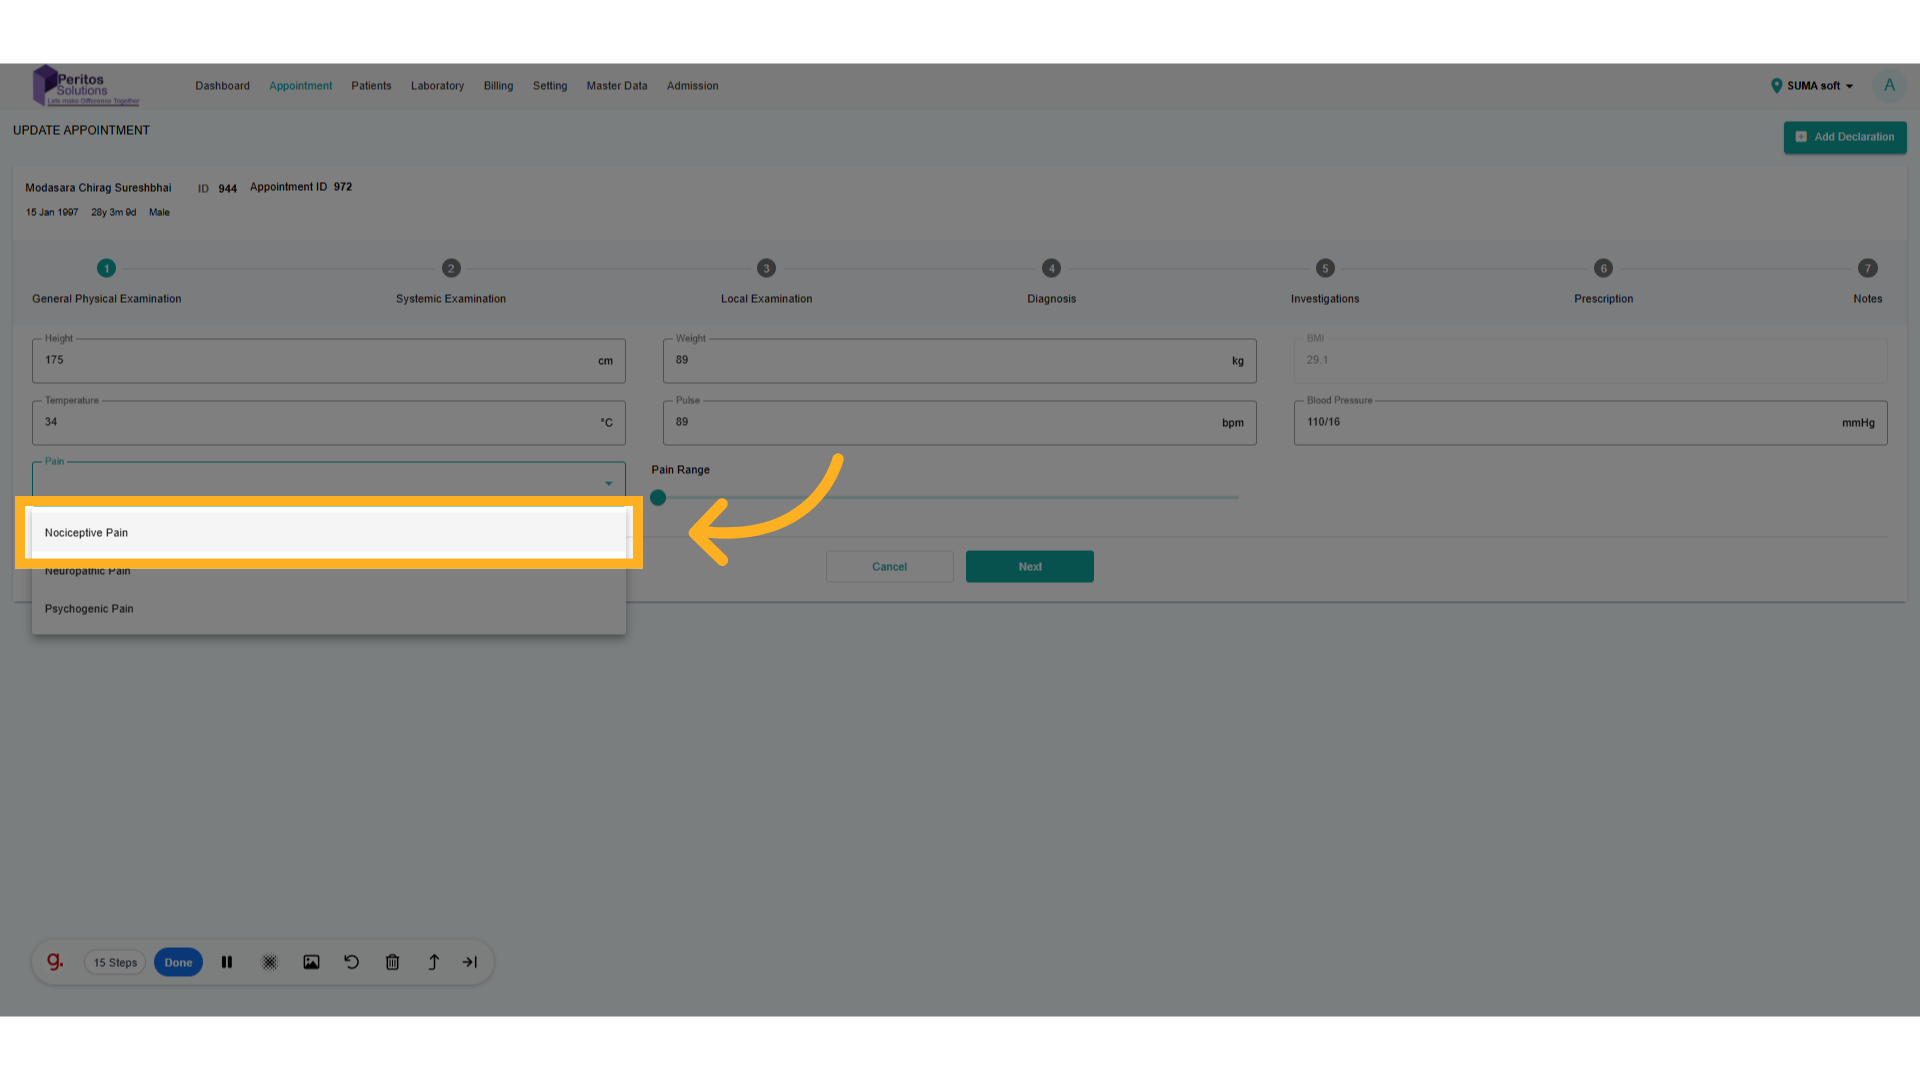
8. Select From dropdown
Record the patient’s pain level, which is vital for effective pain management strategies.
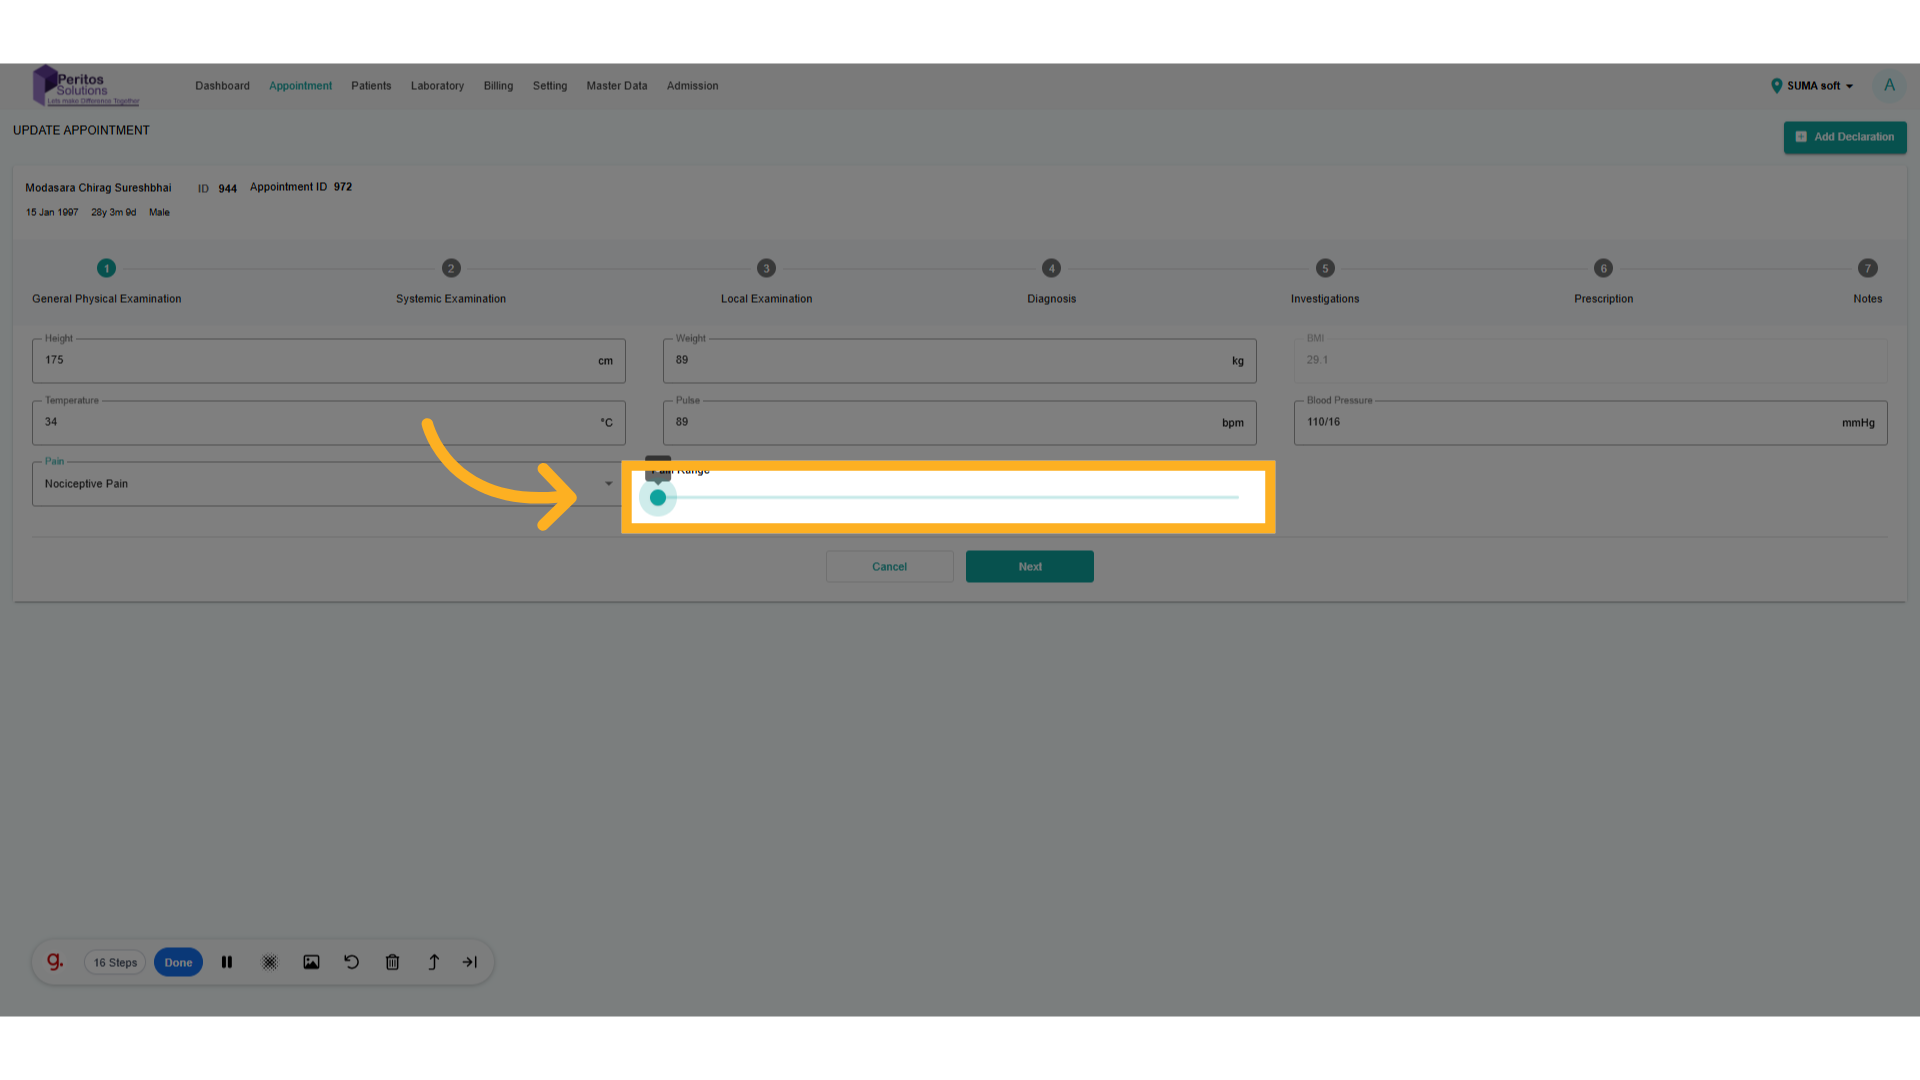
9. Click here
Set the pain level to zero if the patient reports no discomfort, which helps in treatment planning.
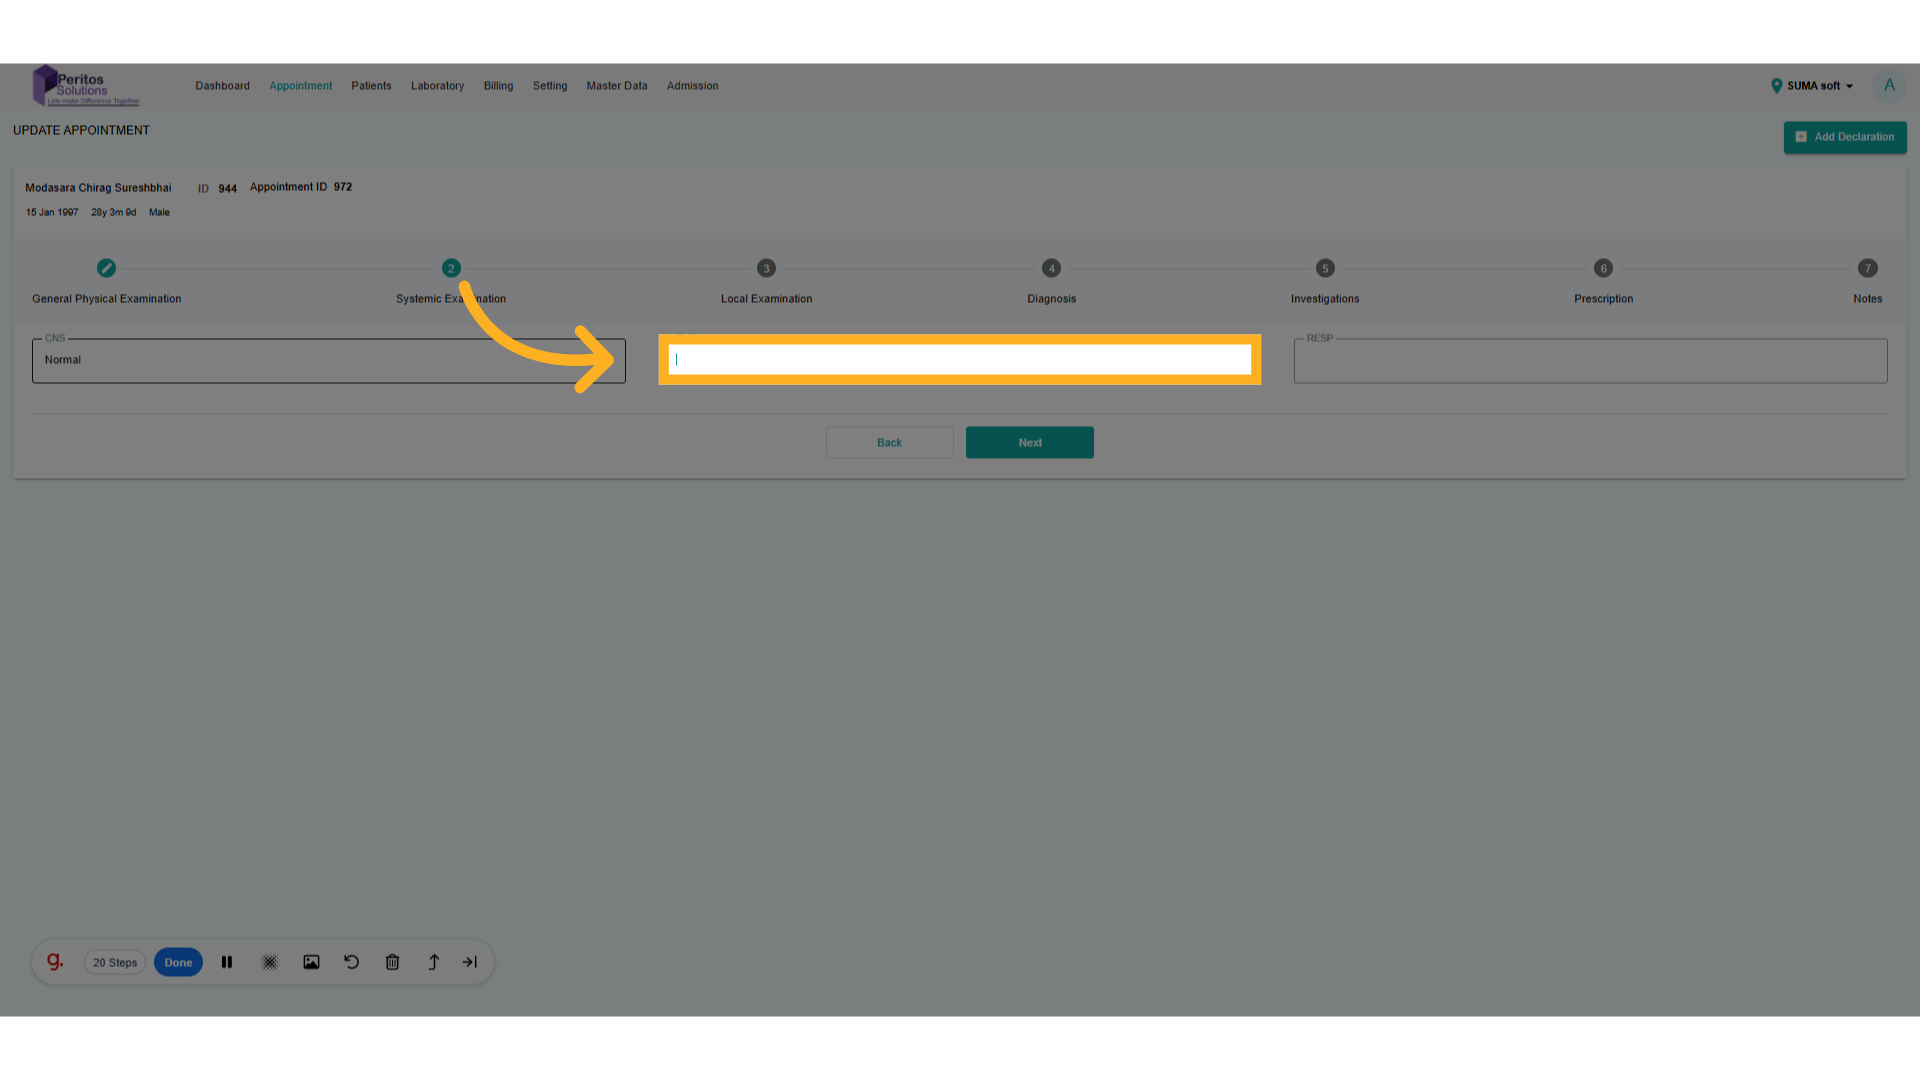
10. Go here and add details
Access the Central Nervous System section for a focused evaluation of neurological health.

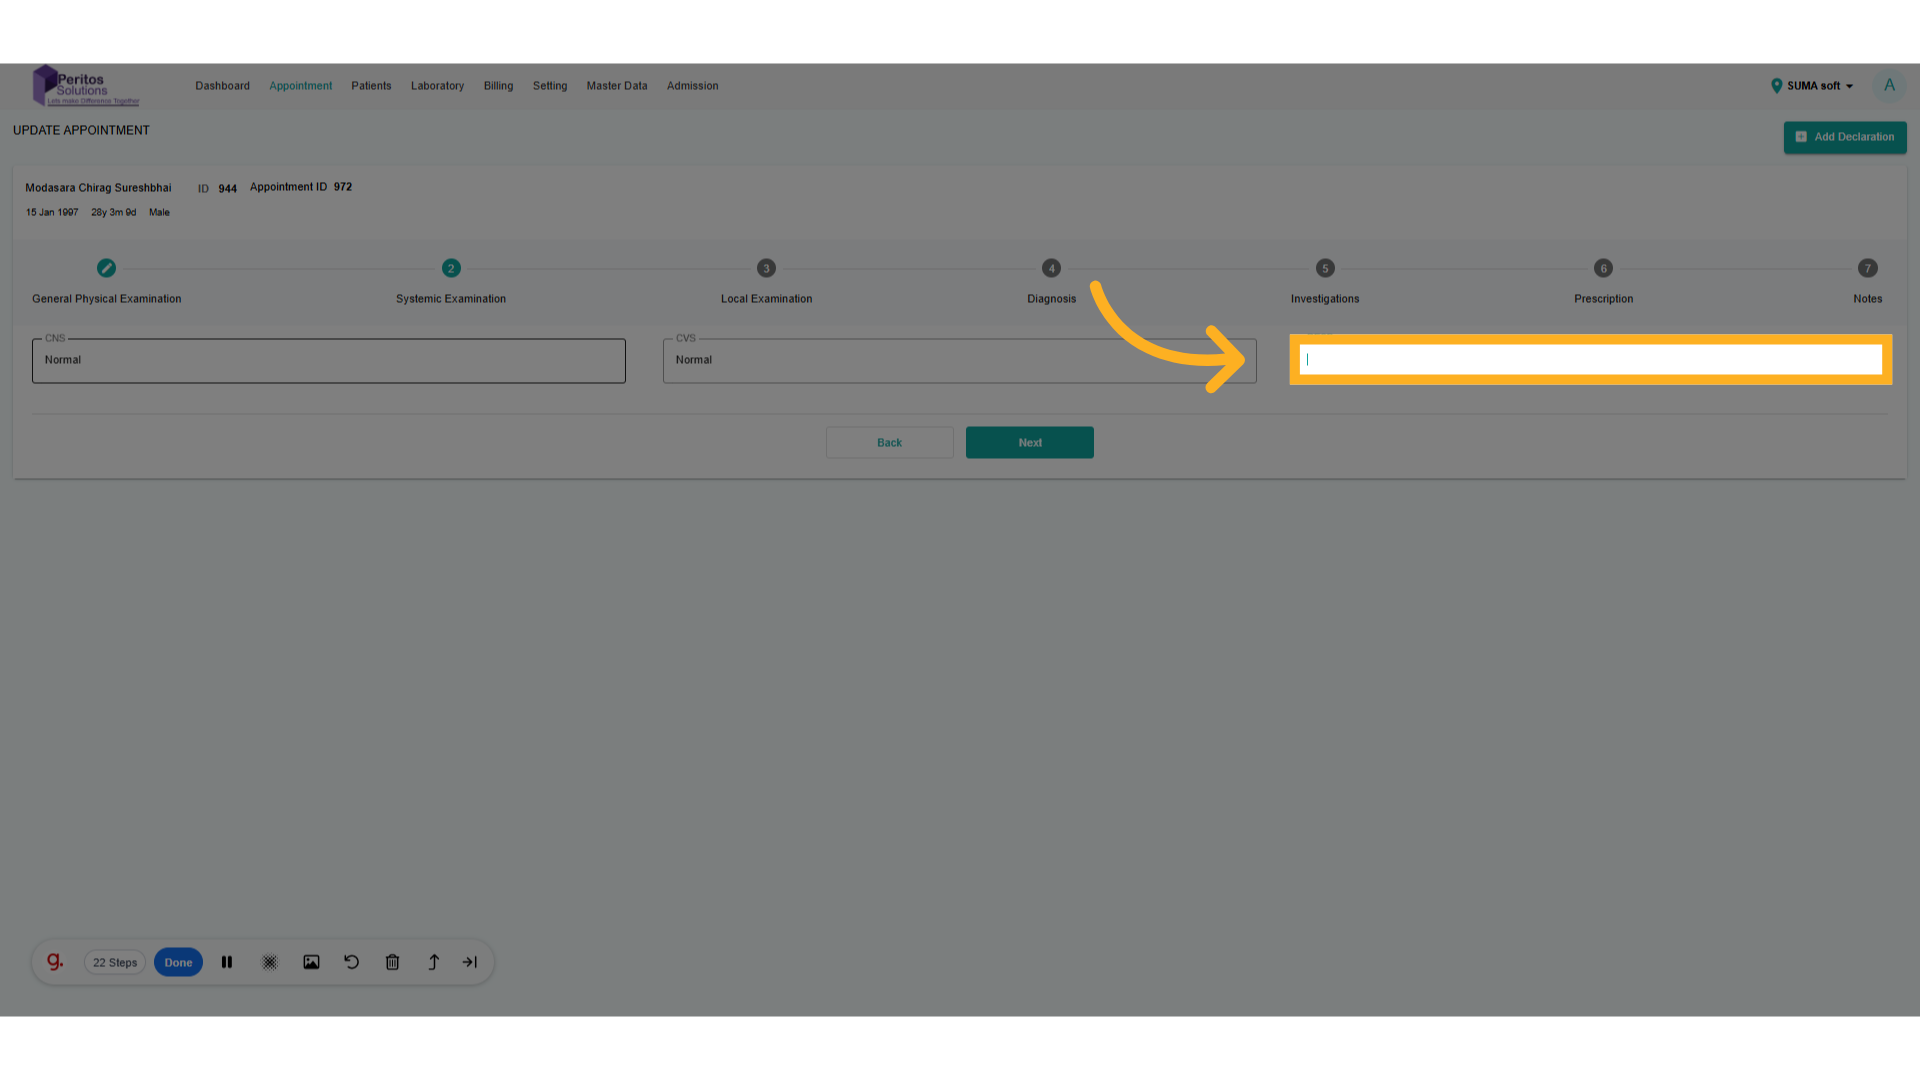
11. Go here and add details
Proceed to the next critical input area, maintaining a systematic approach to updates.
12. Go here and add details
Continue navigating to ensure all aspects of the appointment are covered in your updates.
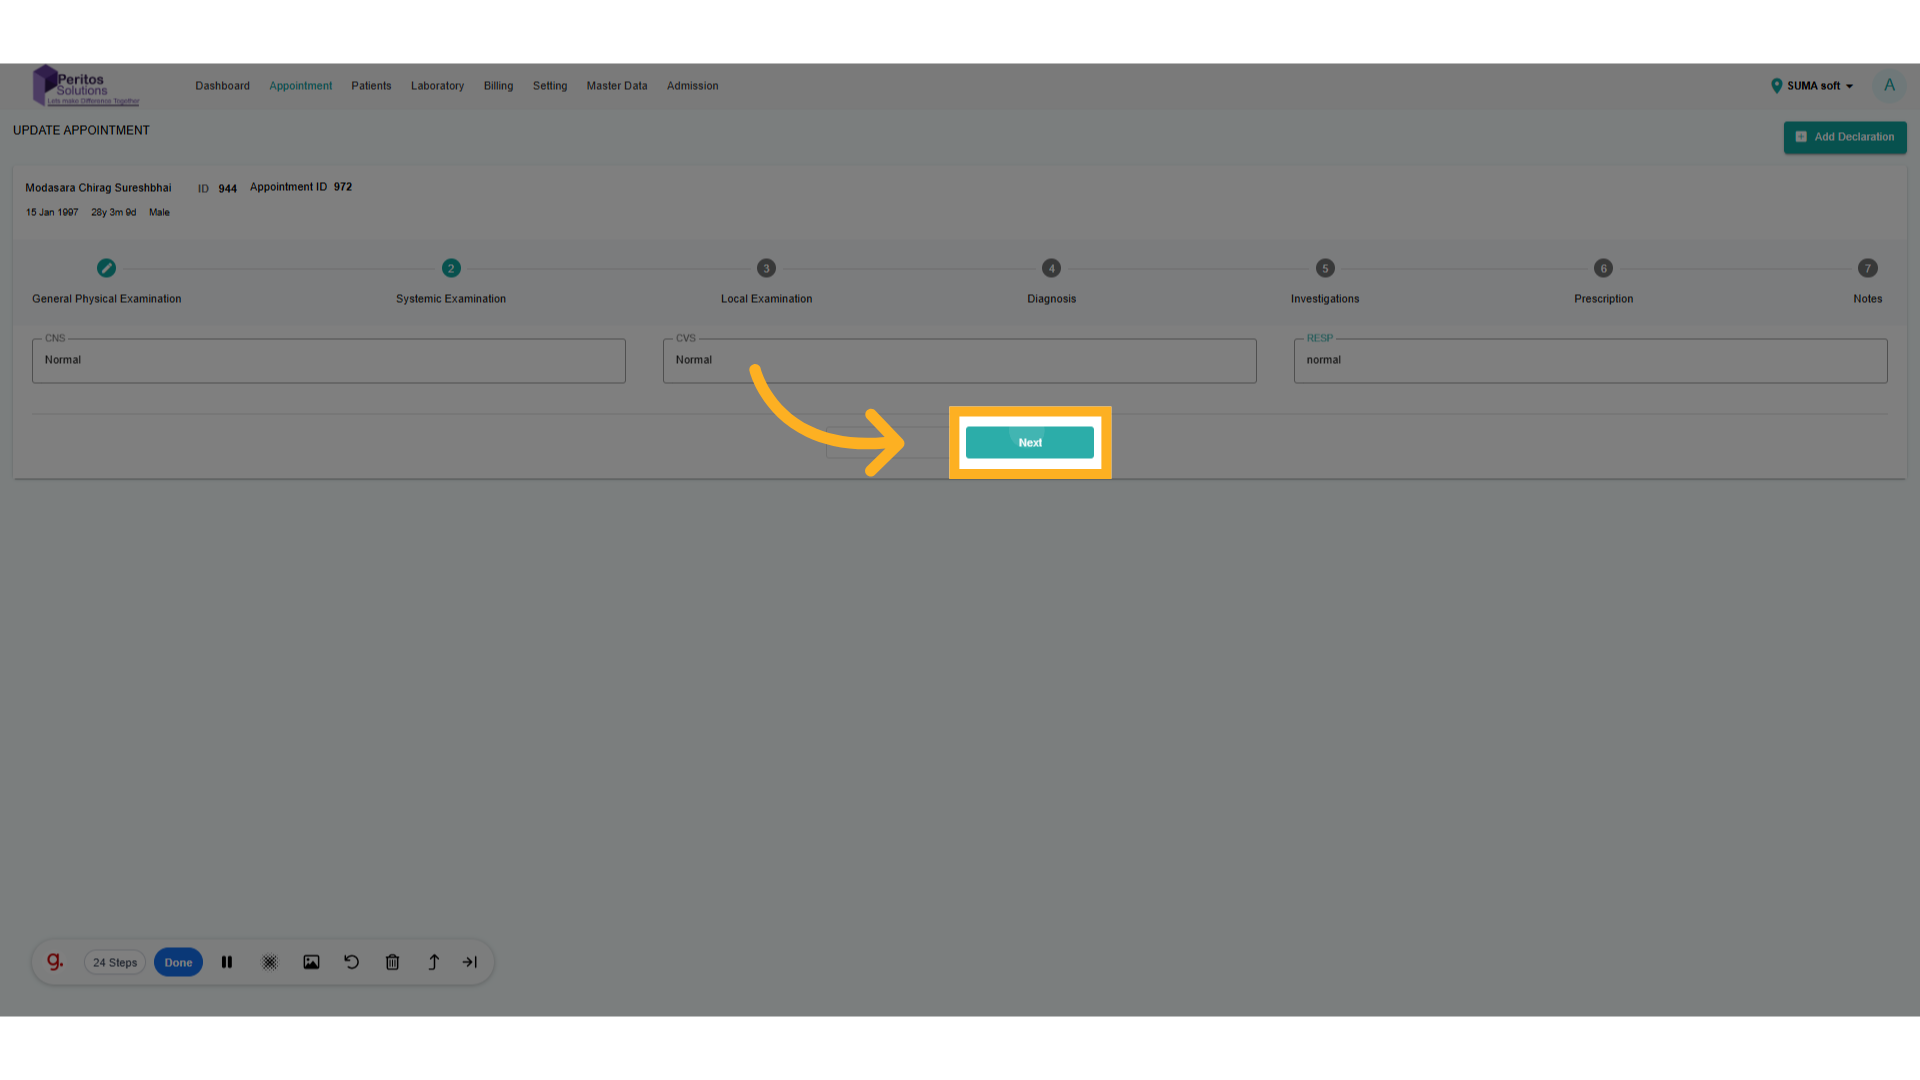
13. Click Next
Review previous entries to confirm accuracy before finalizing updates.
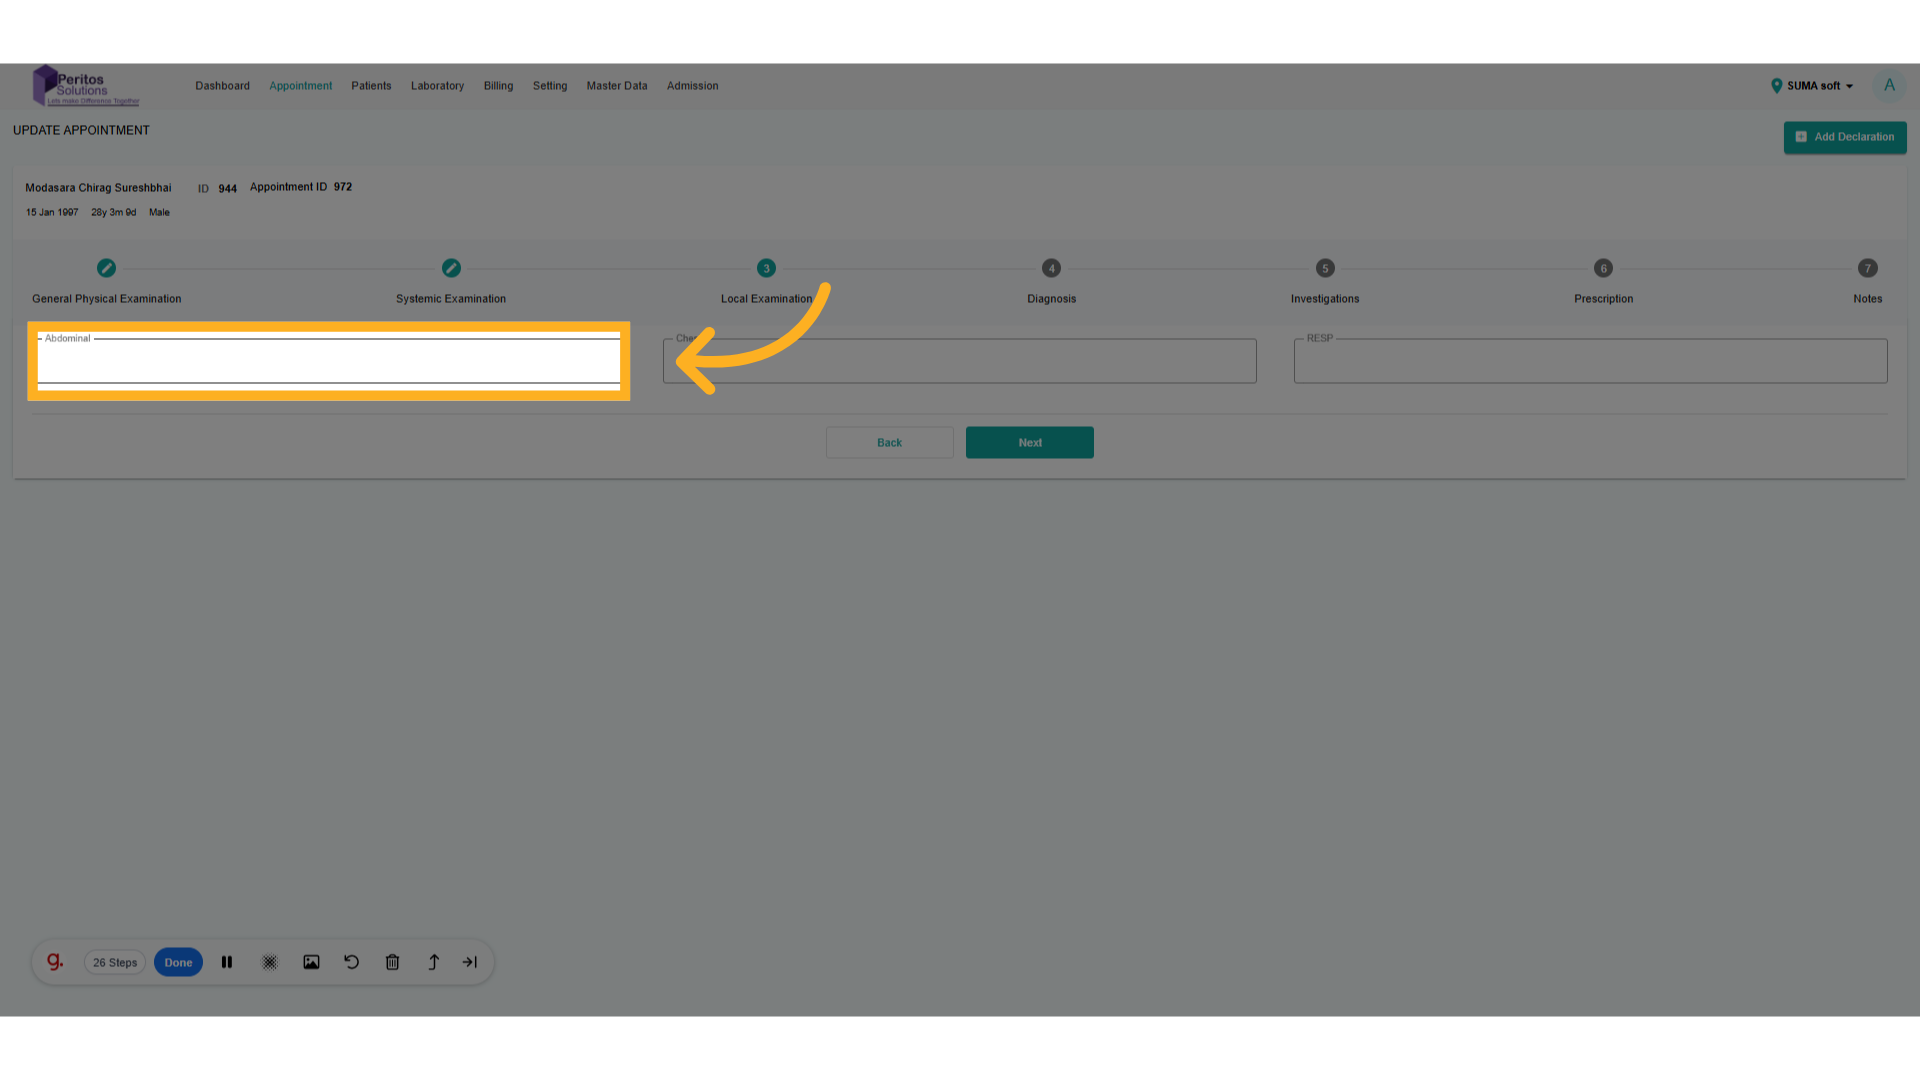
14. Go here and add details
Double-check your inputs to ensure all information aligns with patient records.
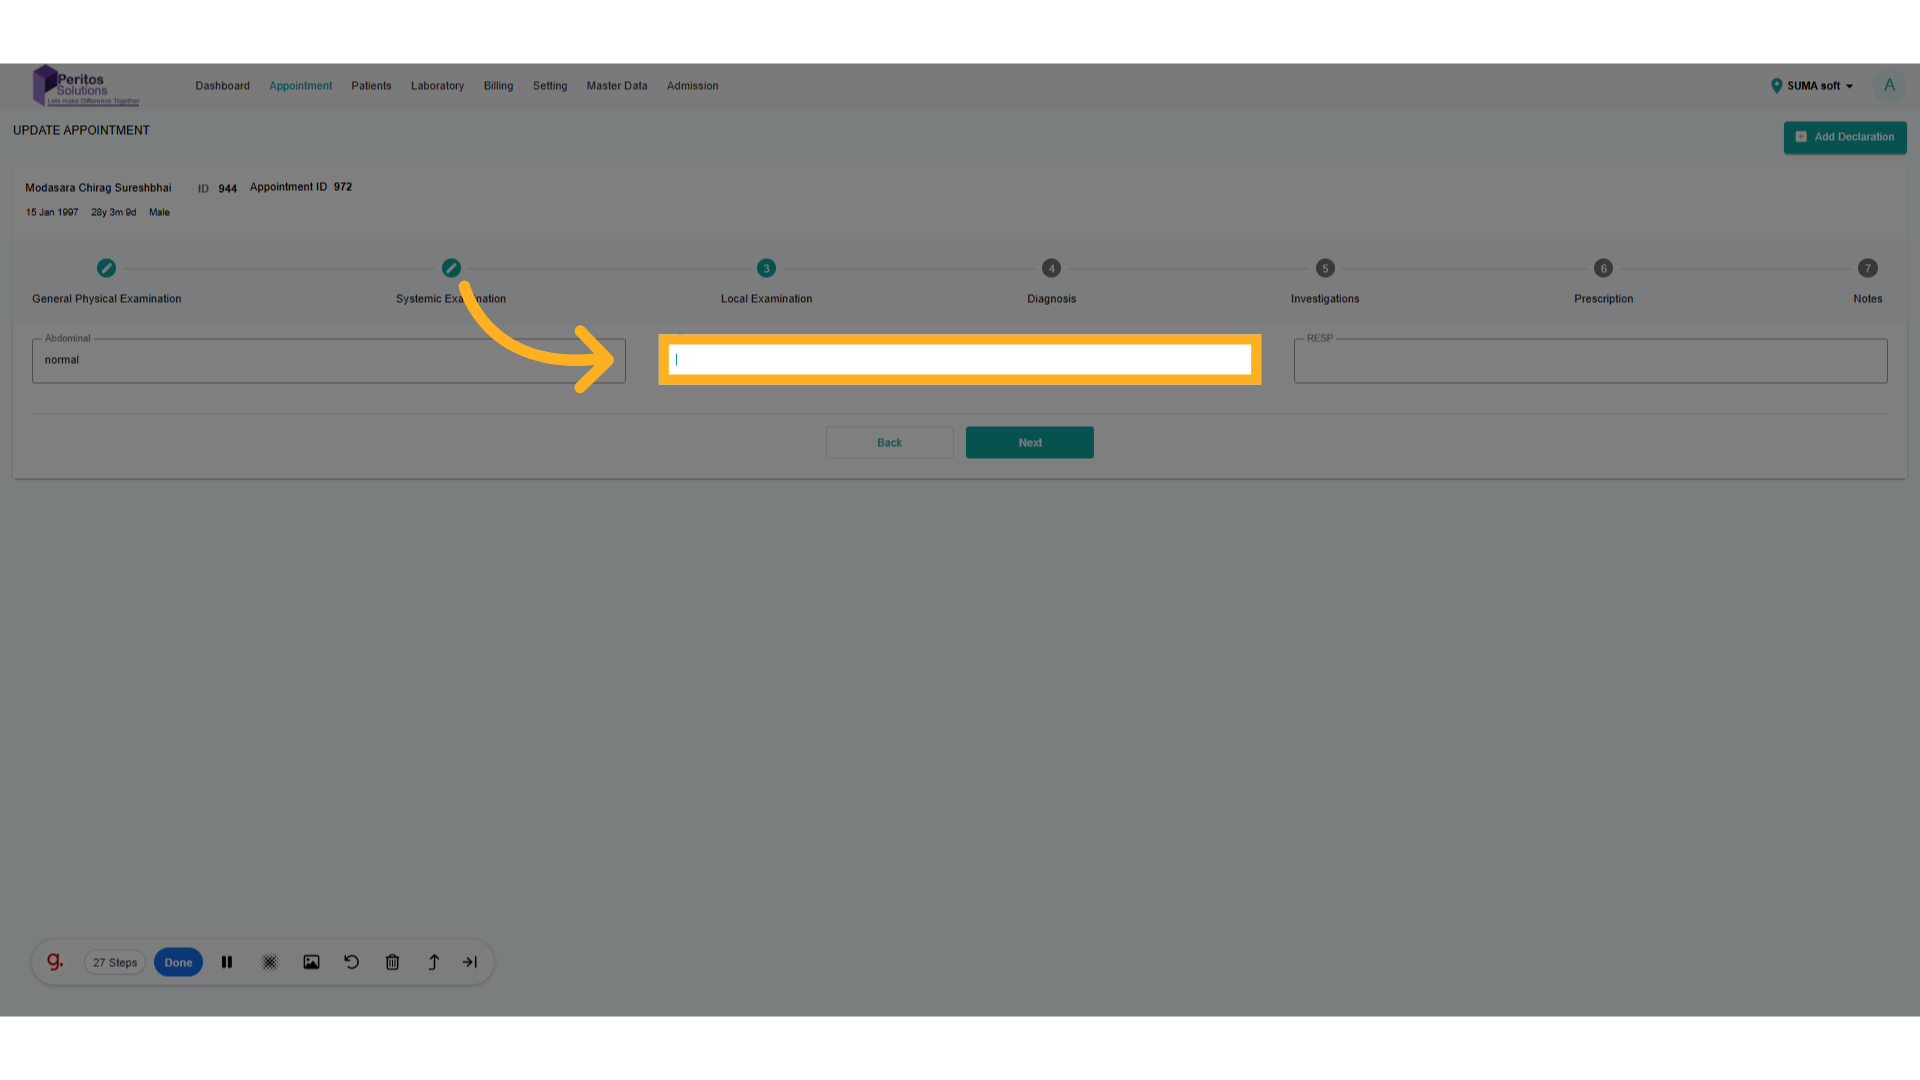
15. Go here and add details
Assess chest examination details, which are vital for respiratory health evaluations.
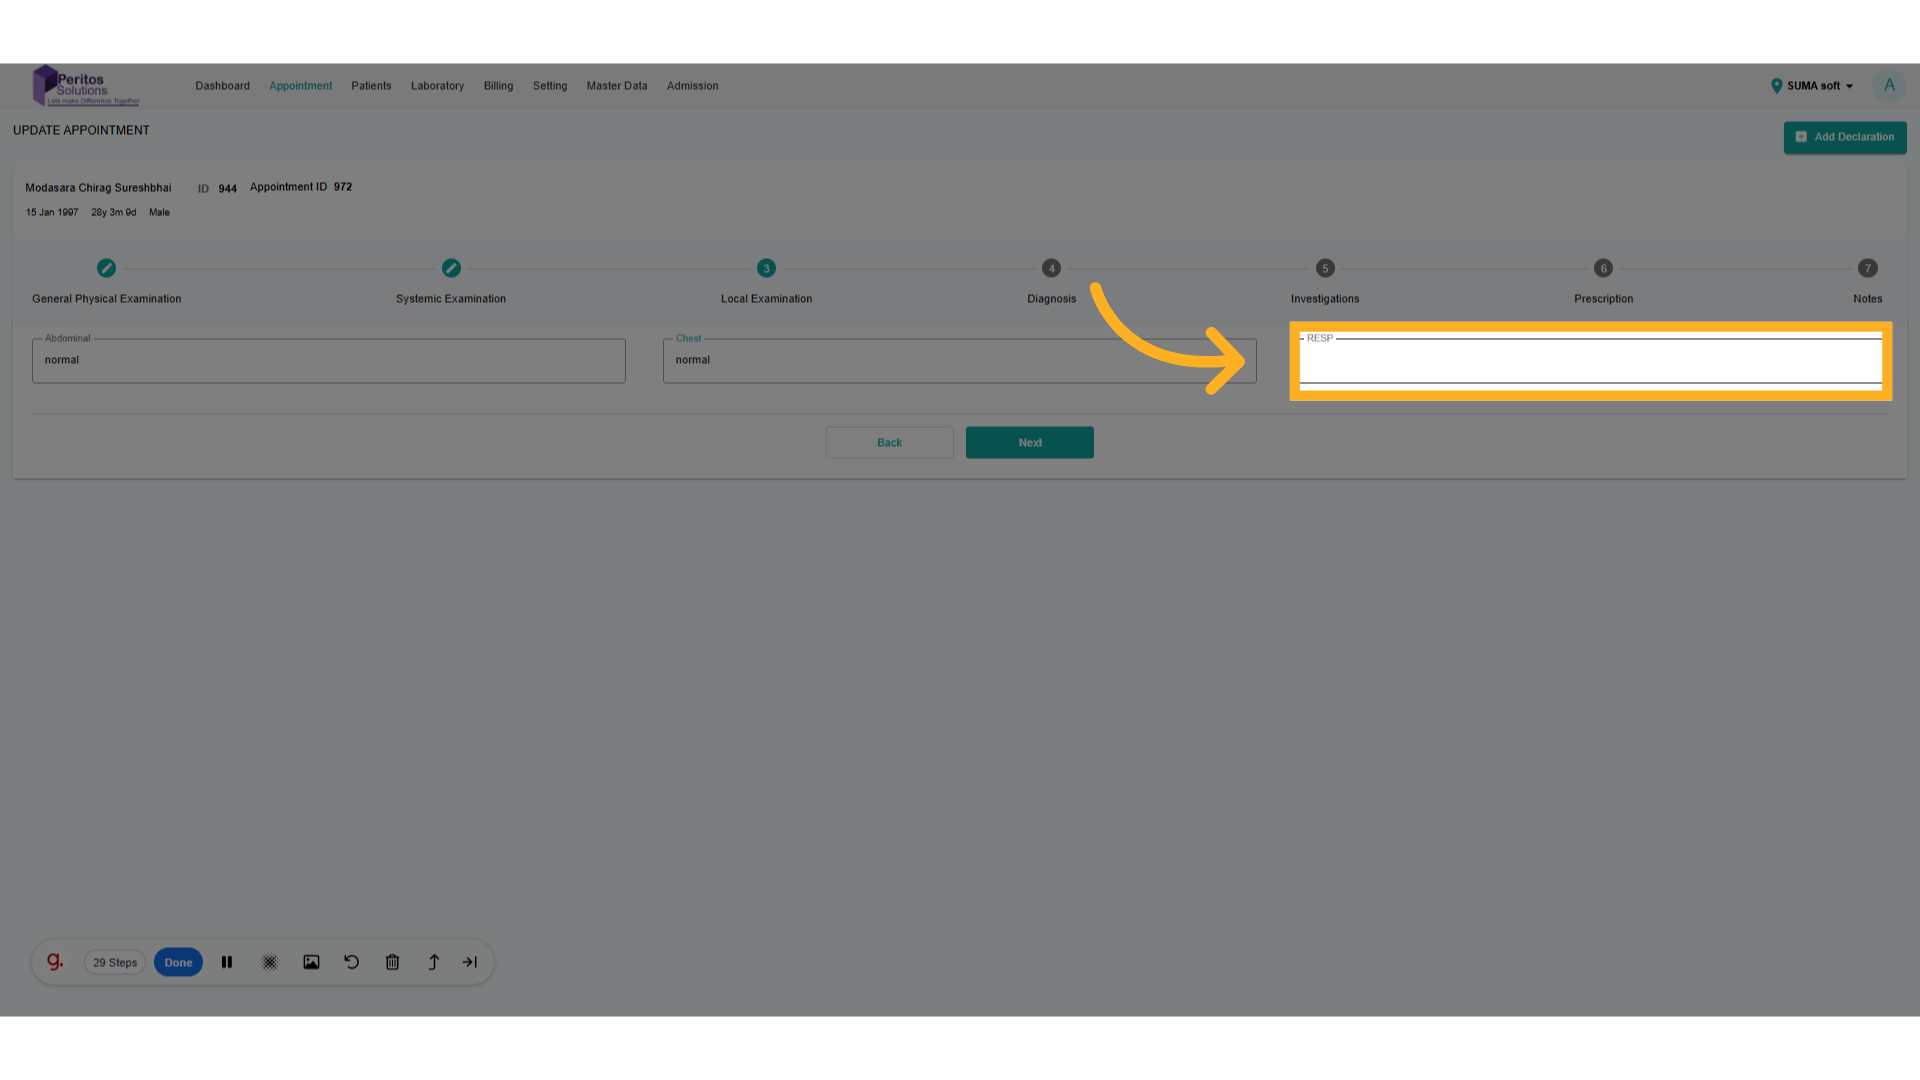
16. Go here and add details
Finalize your input for the chest assessment to complete the patient’s comprehensive evaluation.
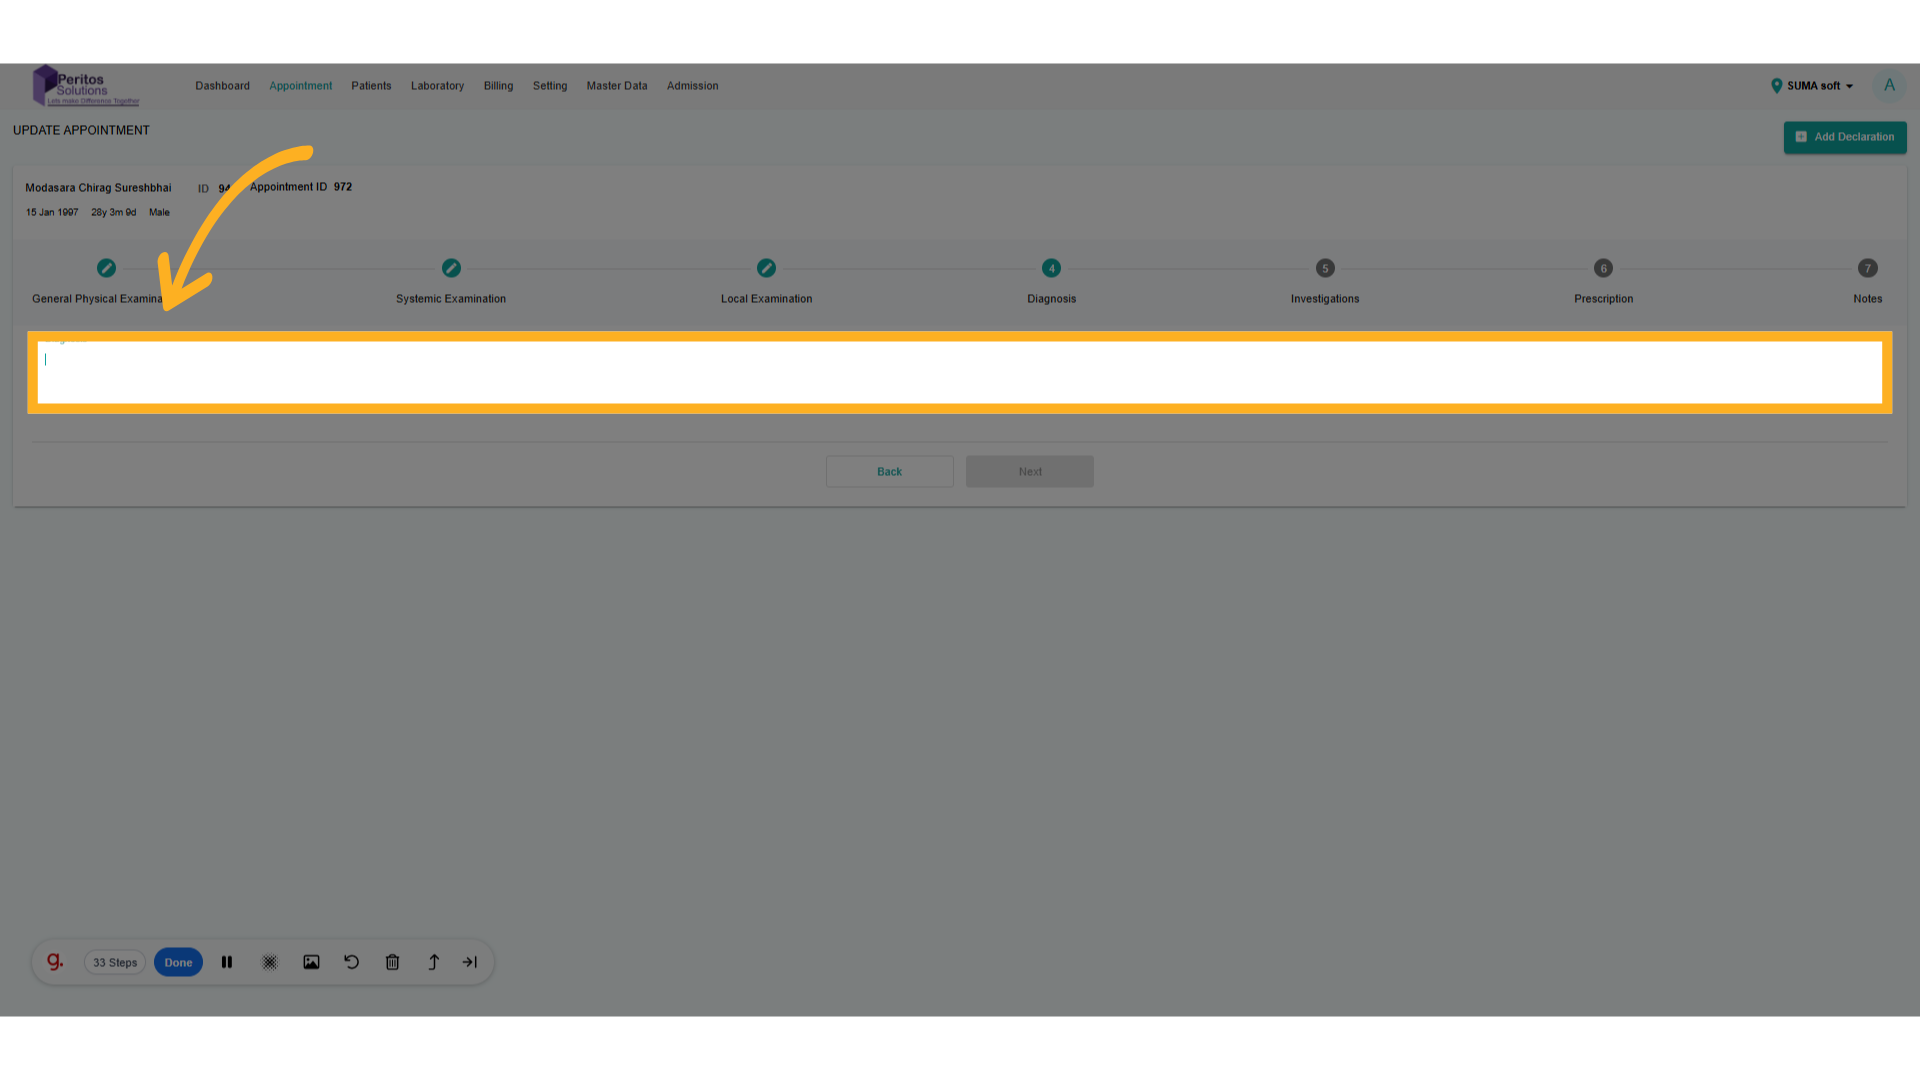
17. Click here
Input or adjust the diagnosis based on the most current evaluation for accurate treatment planning.
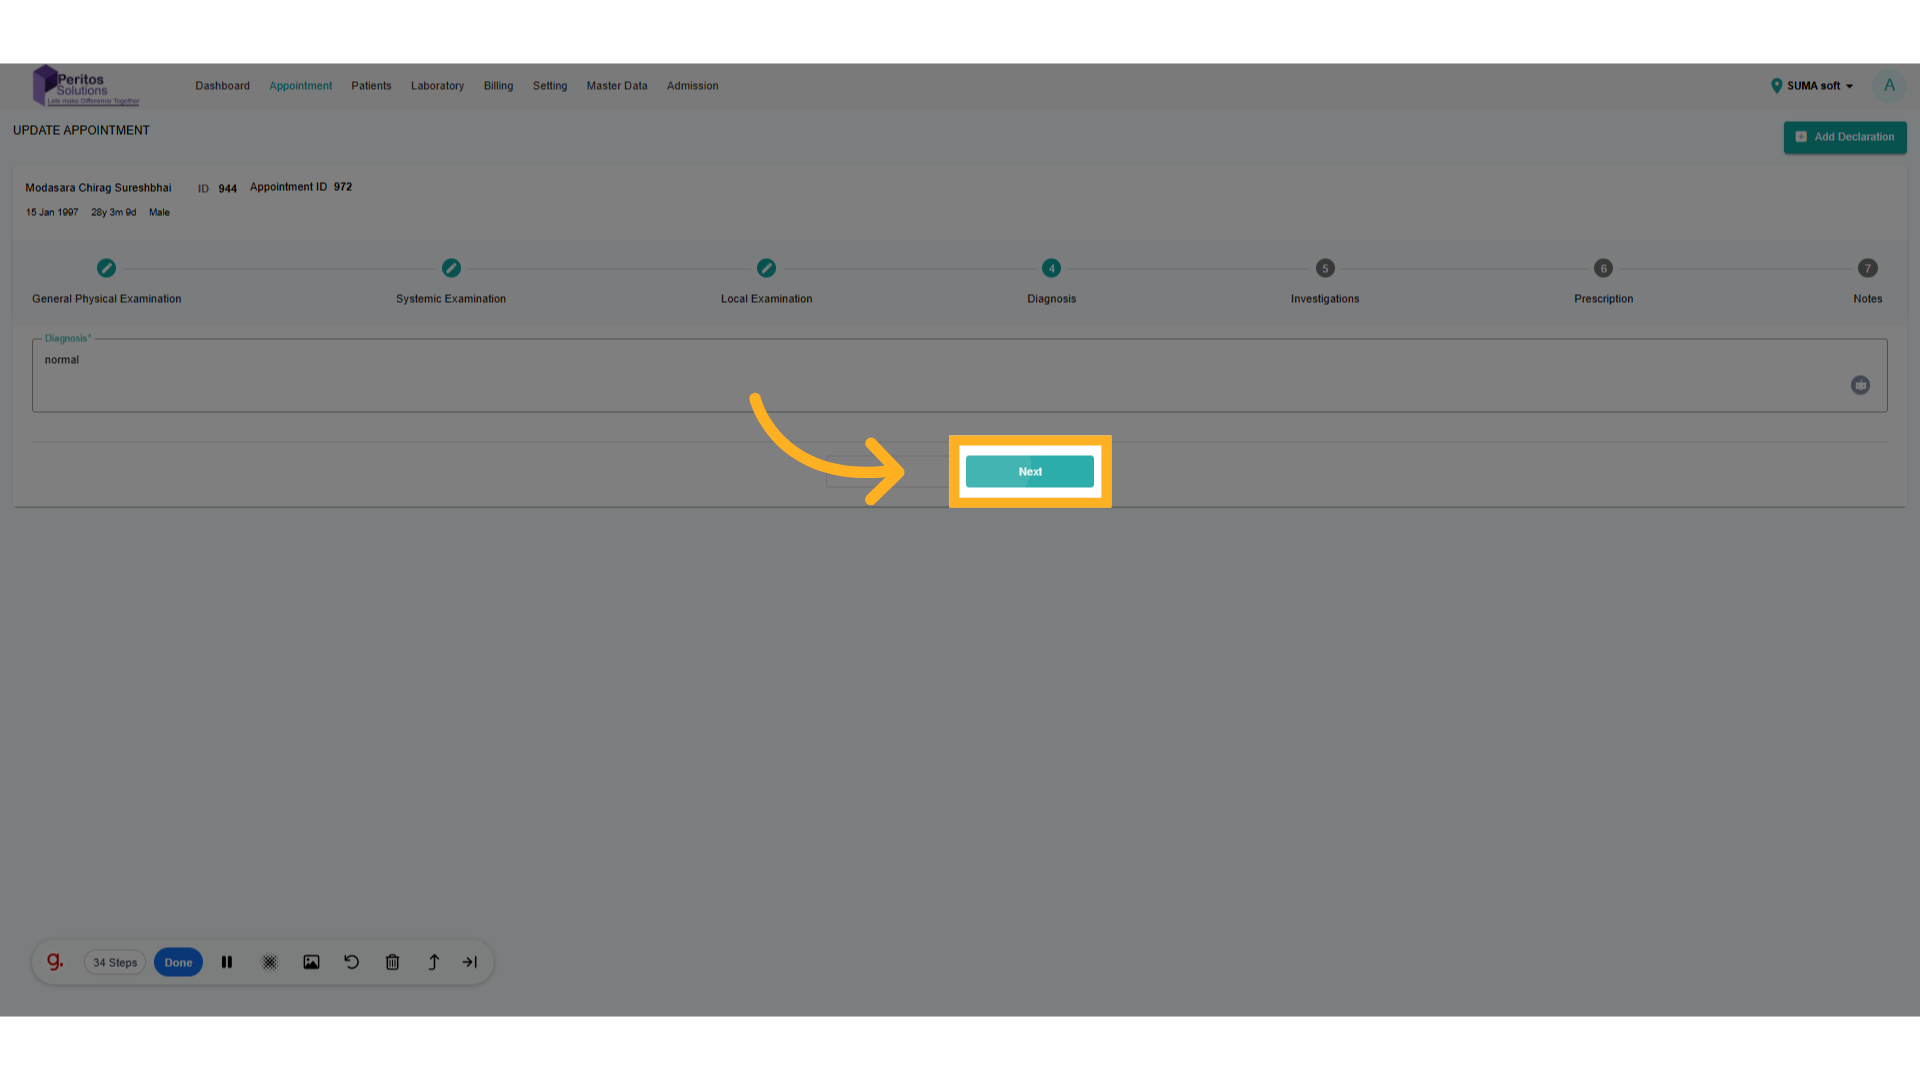
18. Click On Next
Confirm the diagnosis to ensure it reflects the most recent findings.
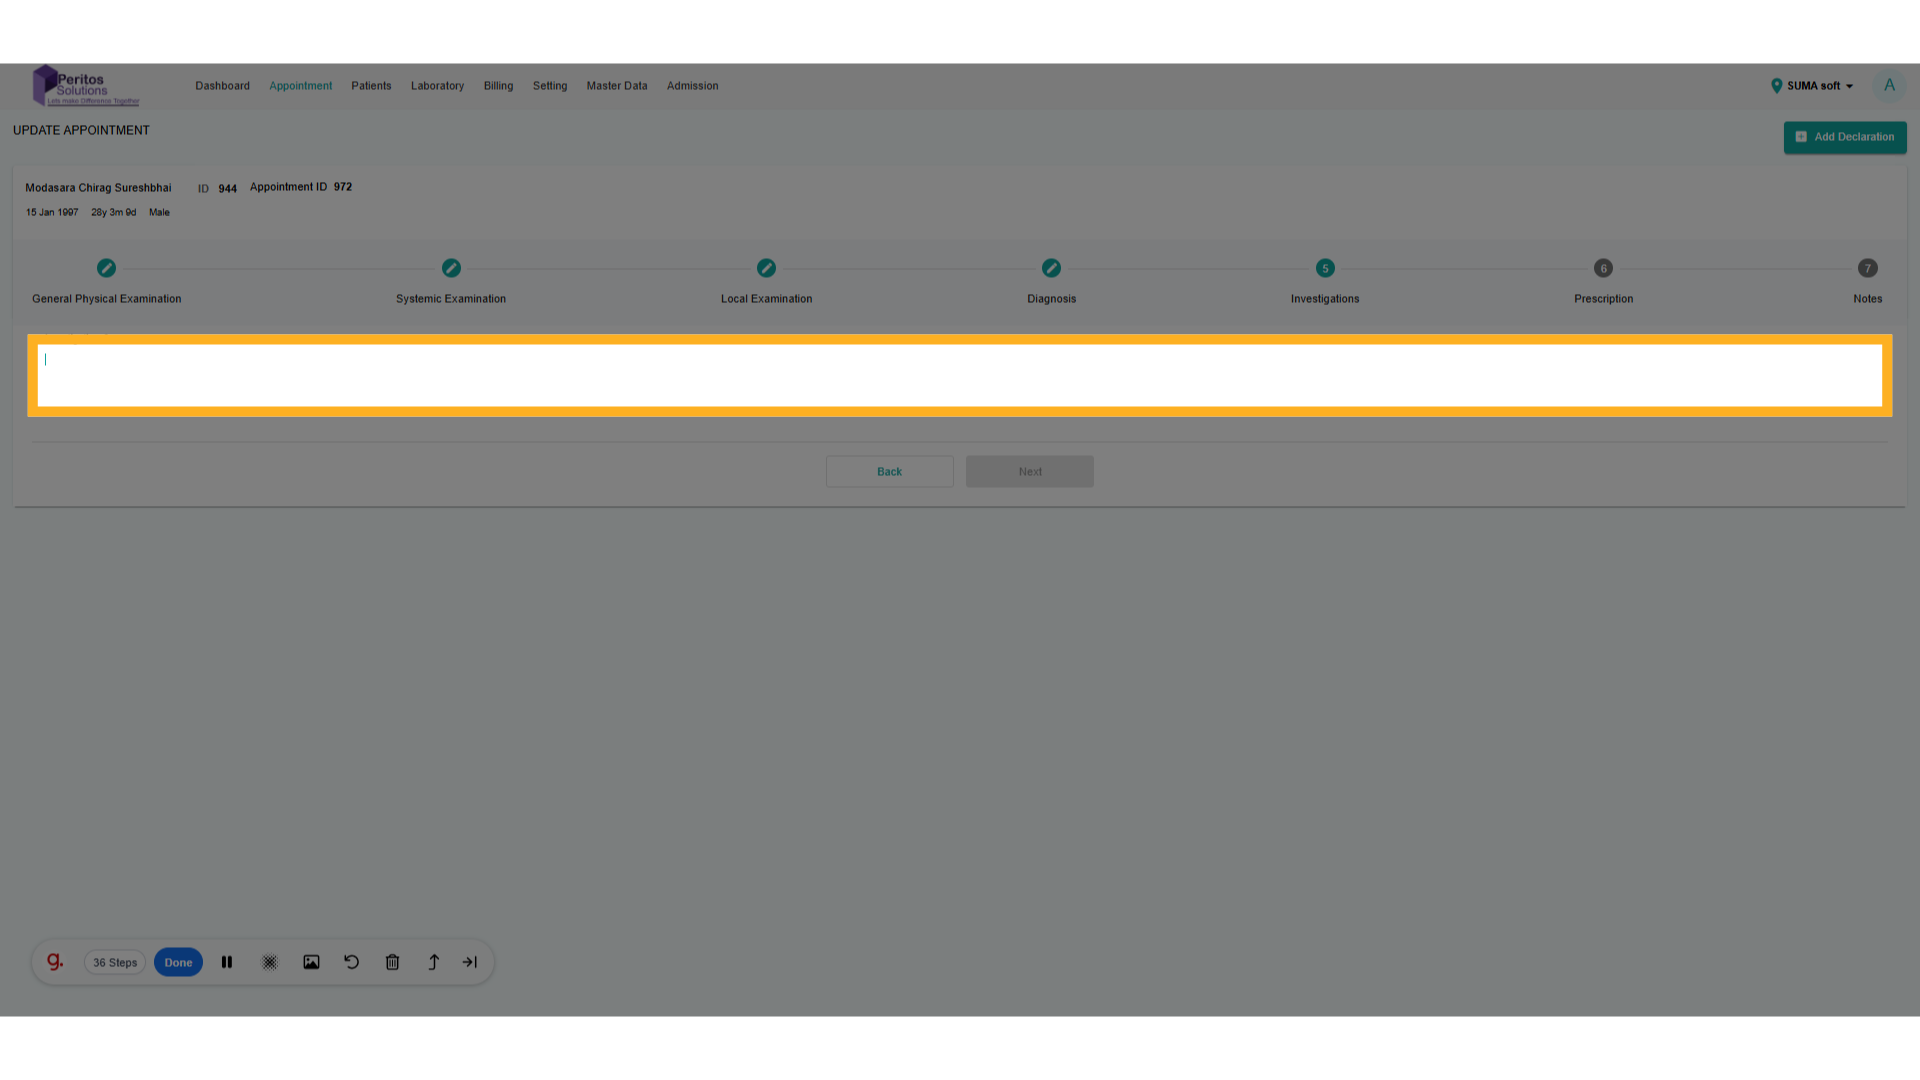
19. Go here and add details
Initiate any necessary investigations to support the diagnosis, enhancing patient care.
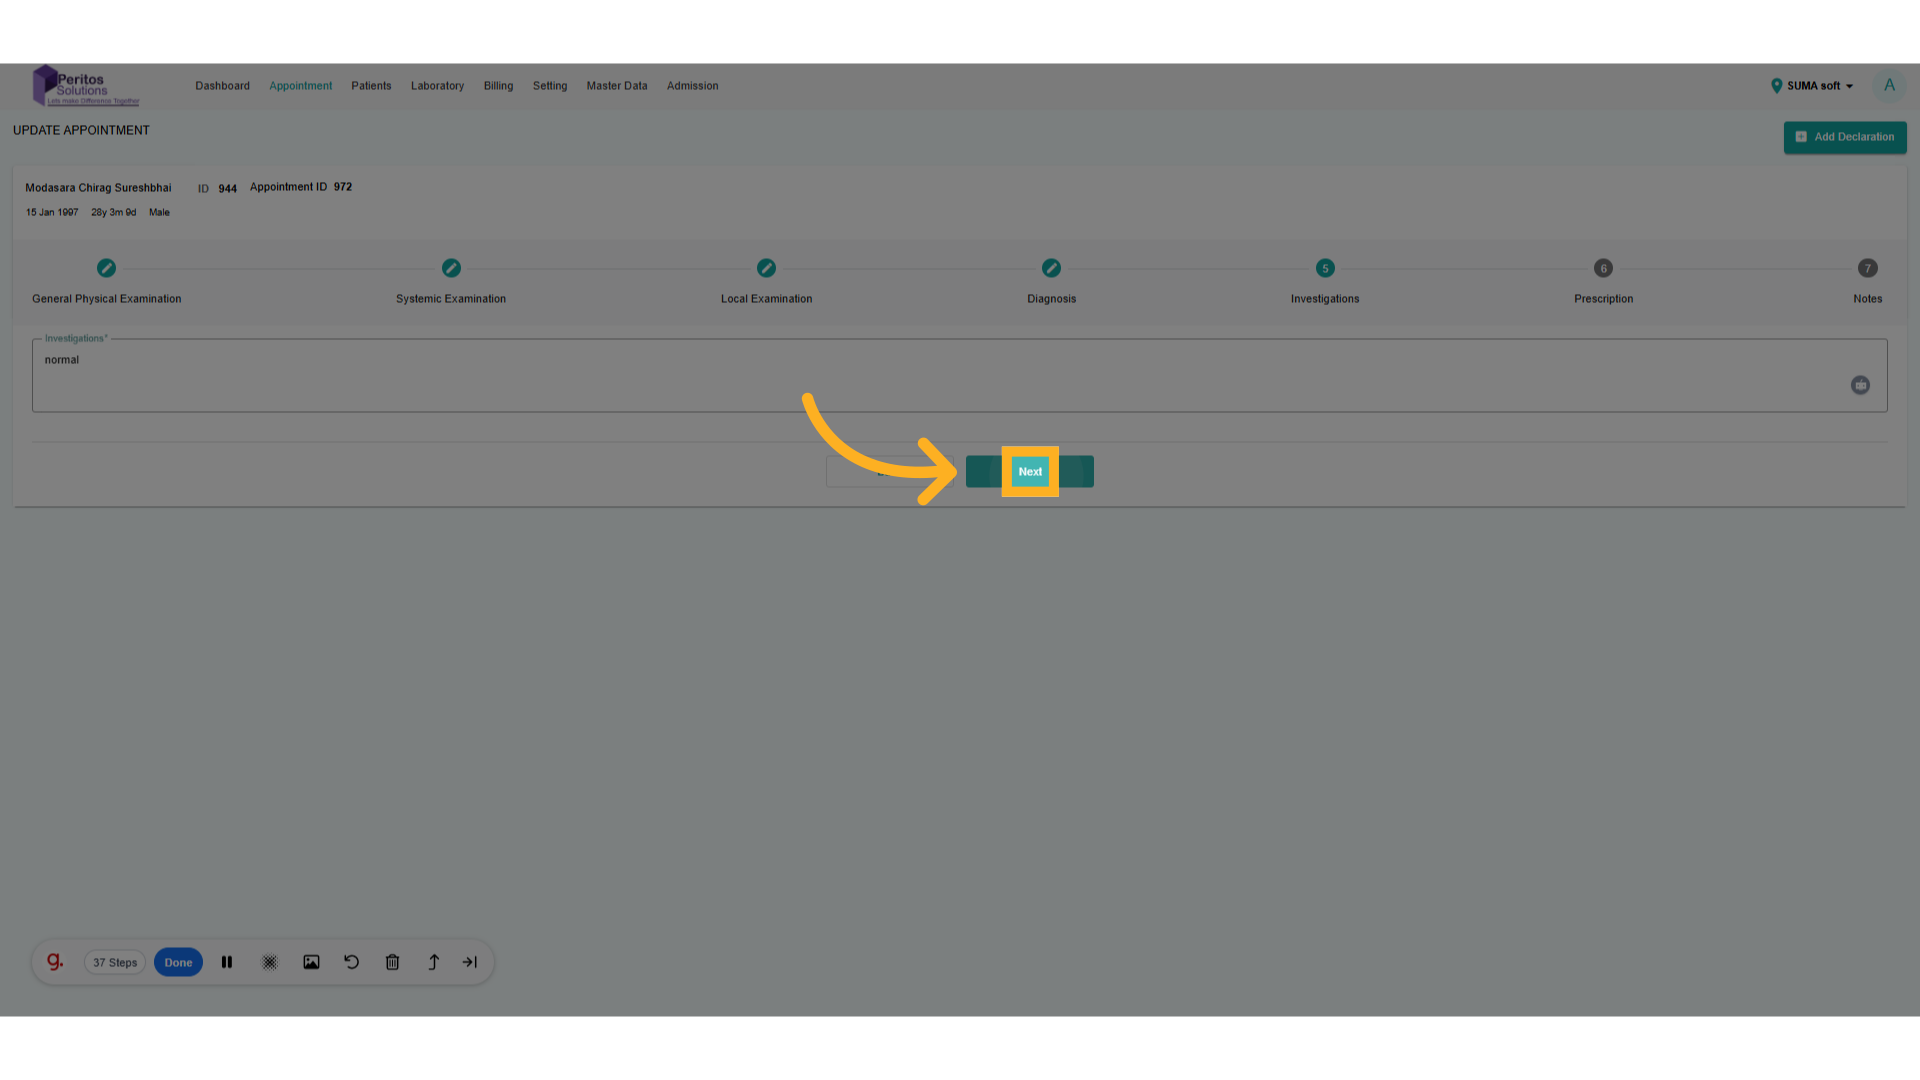
20. Click “Next”
Move to the next step to ensure a smooth transition through the appointment update process.
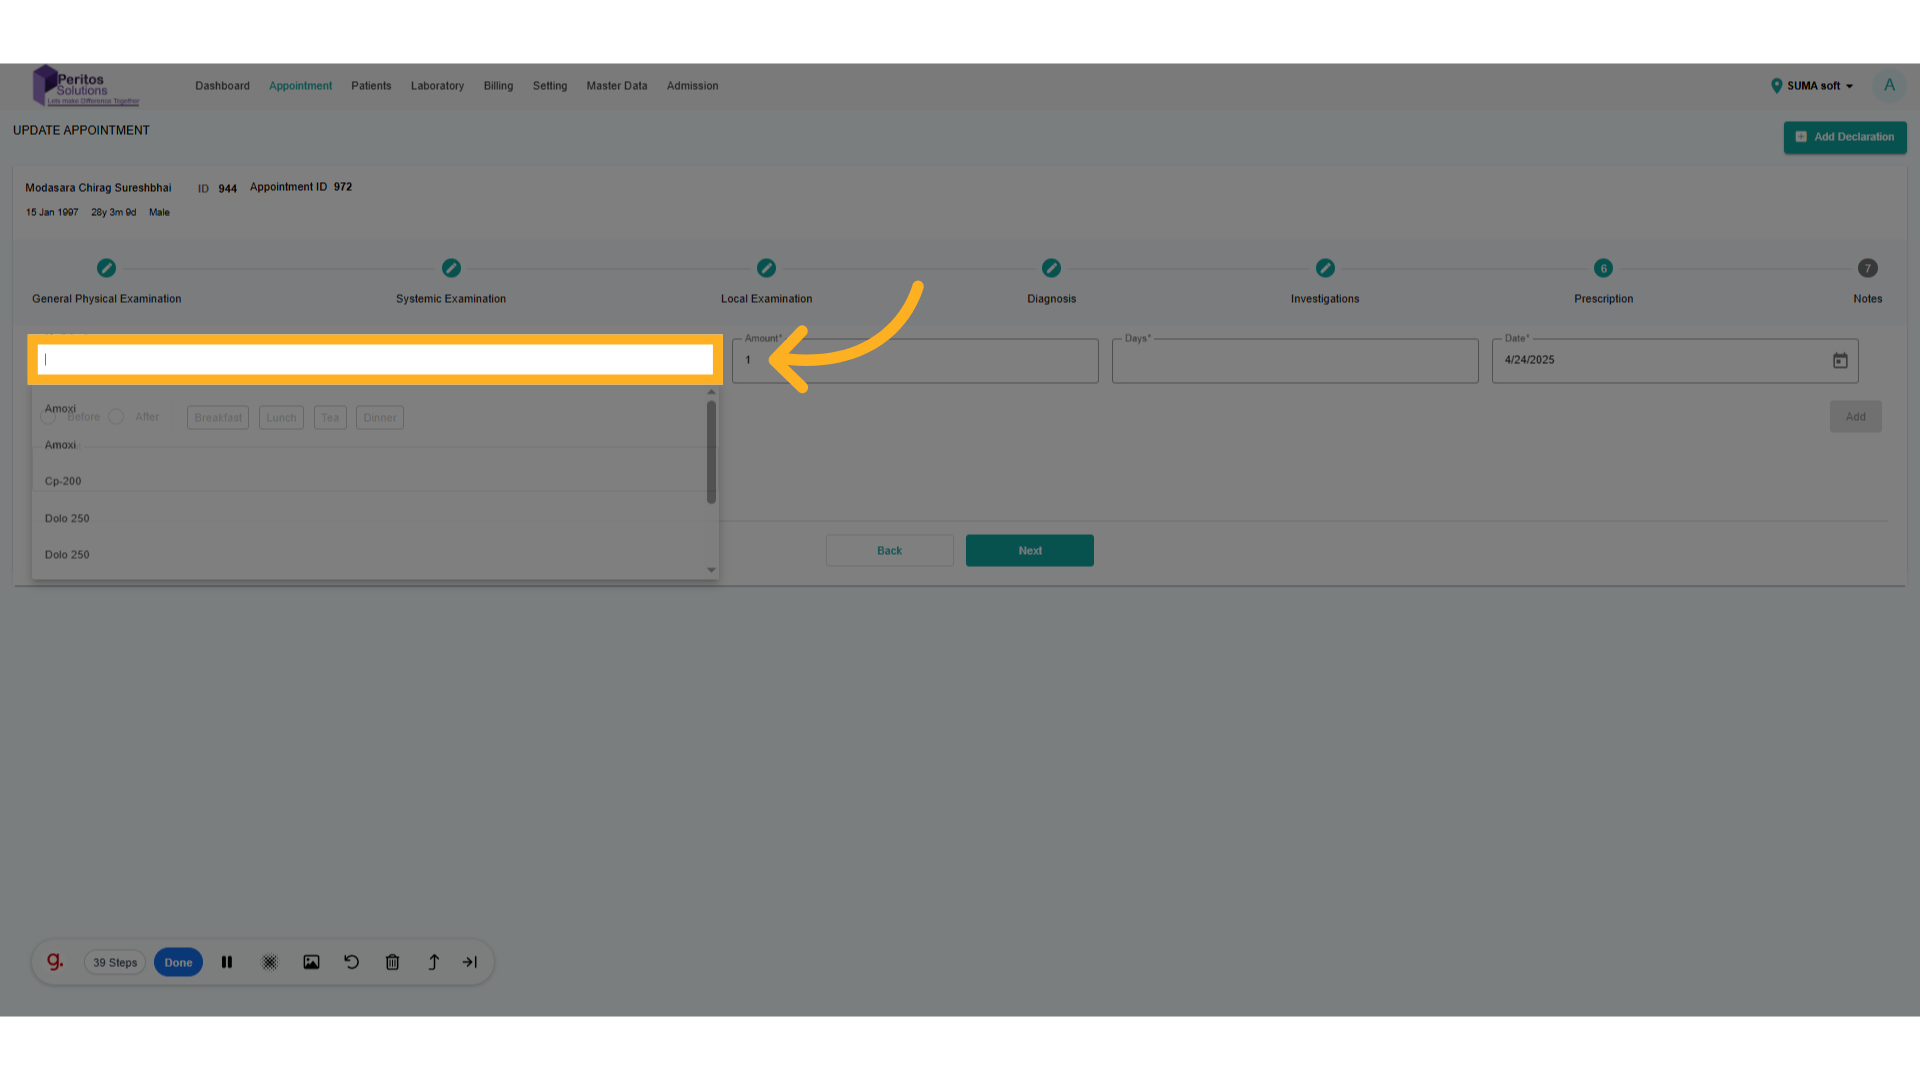
21. Select Medicine From Drop-Down
Select the appropriate medication for the patient, supporting effective treatment strategies.
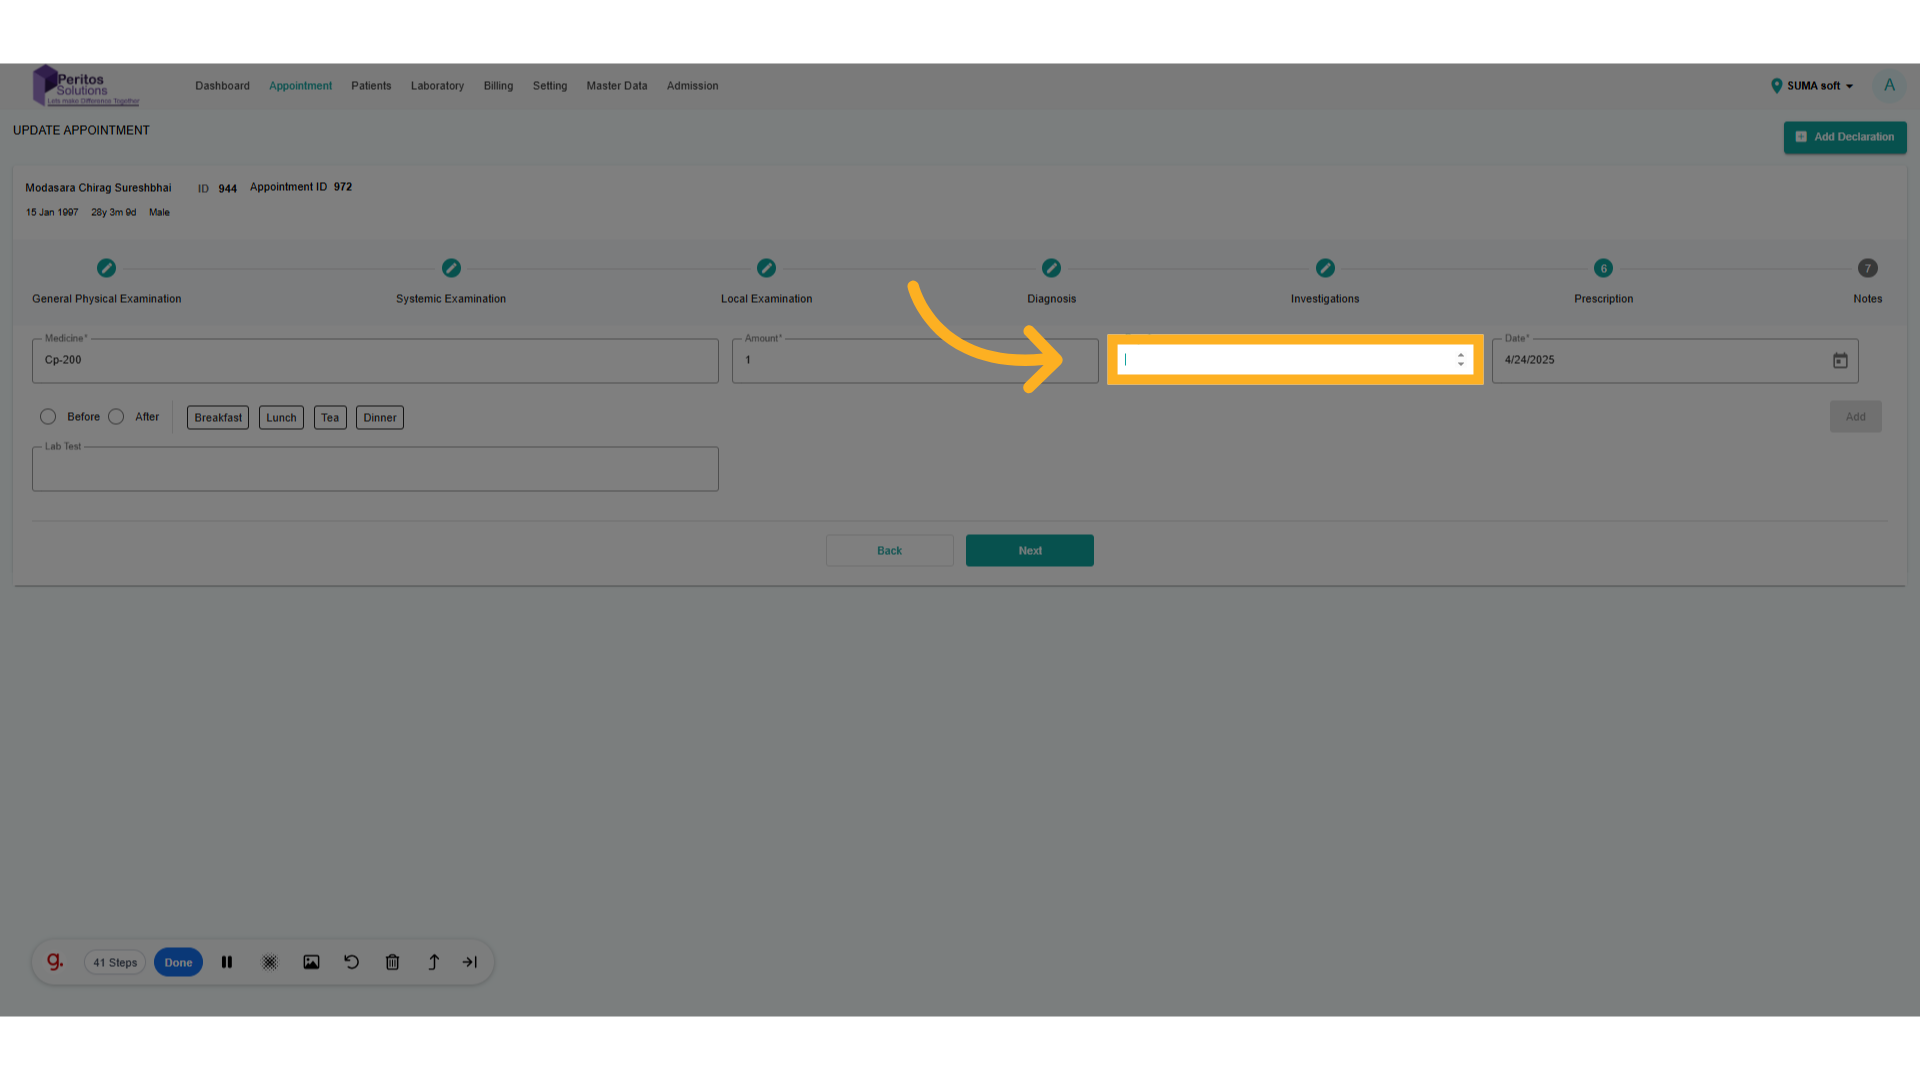
22. Click here and add a day.
Specify the duration for the medication, ensuring patient adherence to treatment.
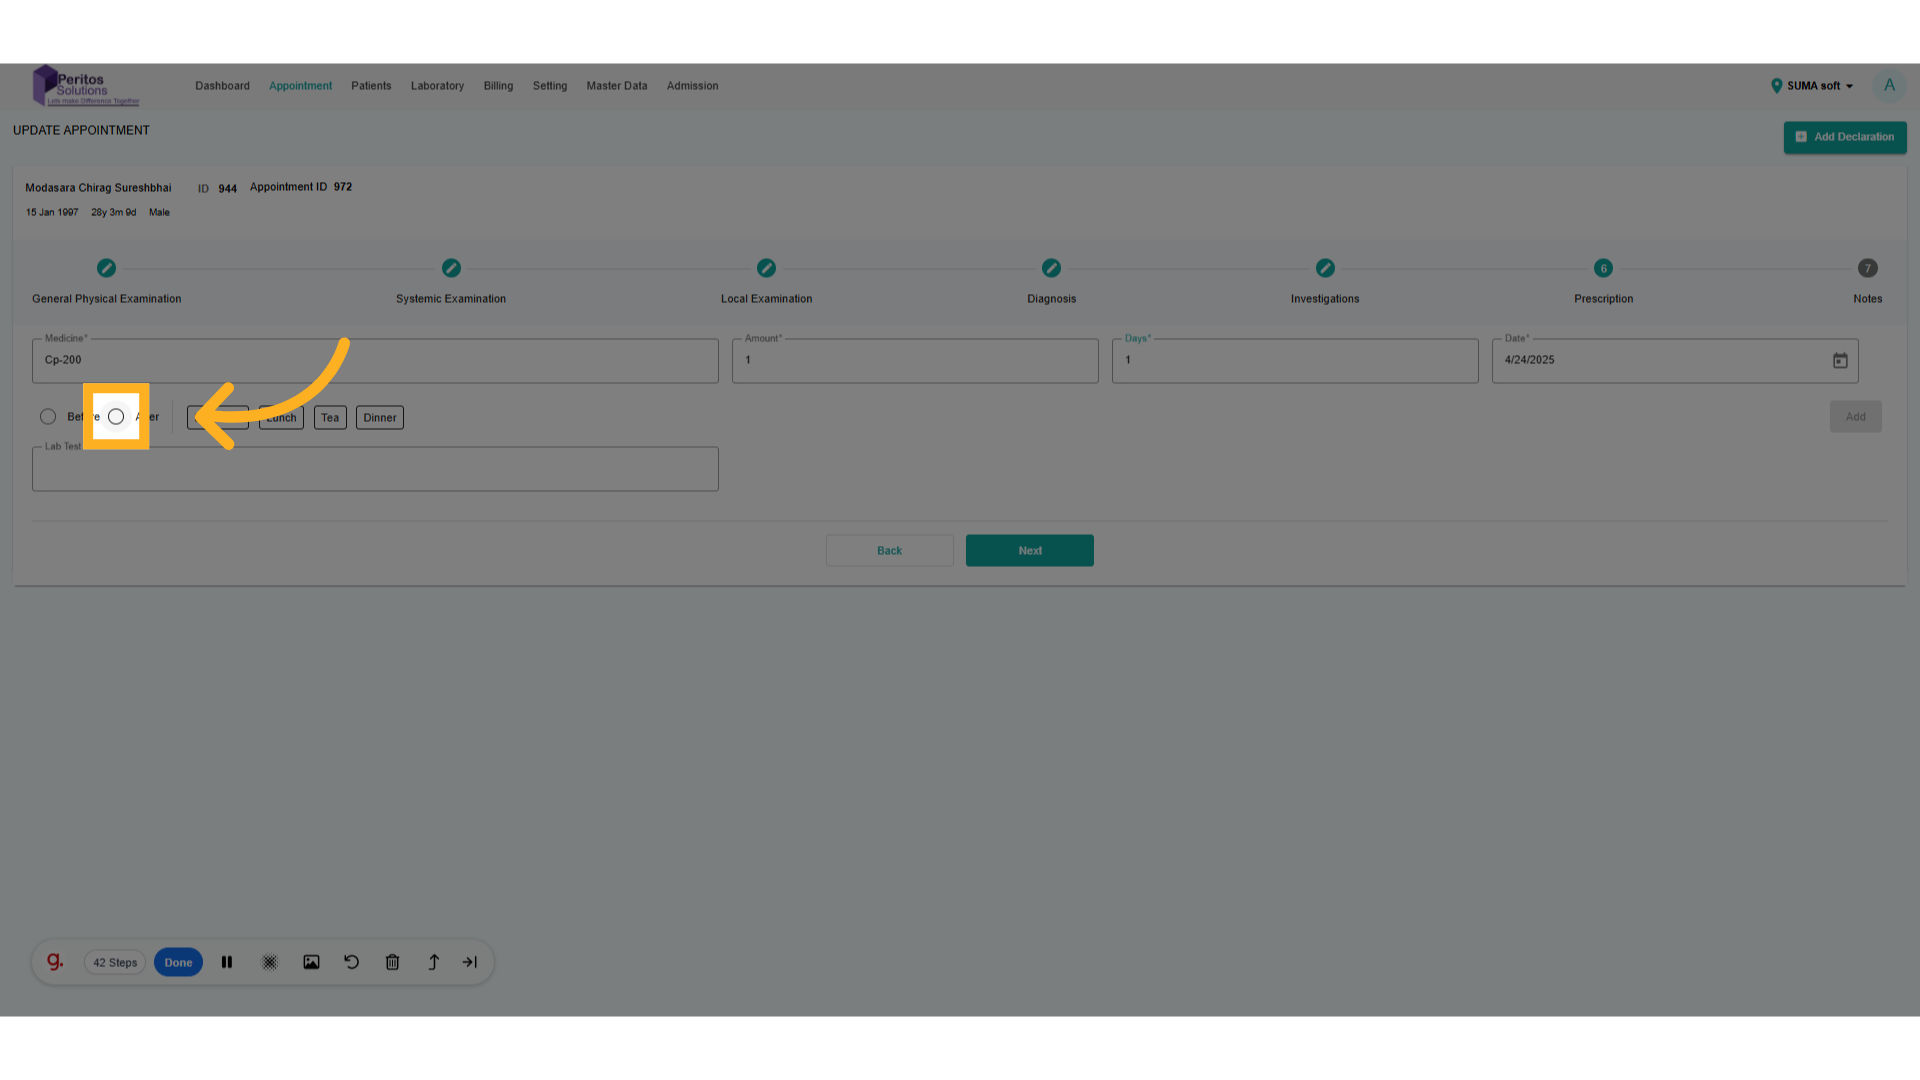
23. Select Before and After
Indicate when the medication should be taken to provide clear instructions.
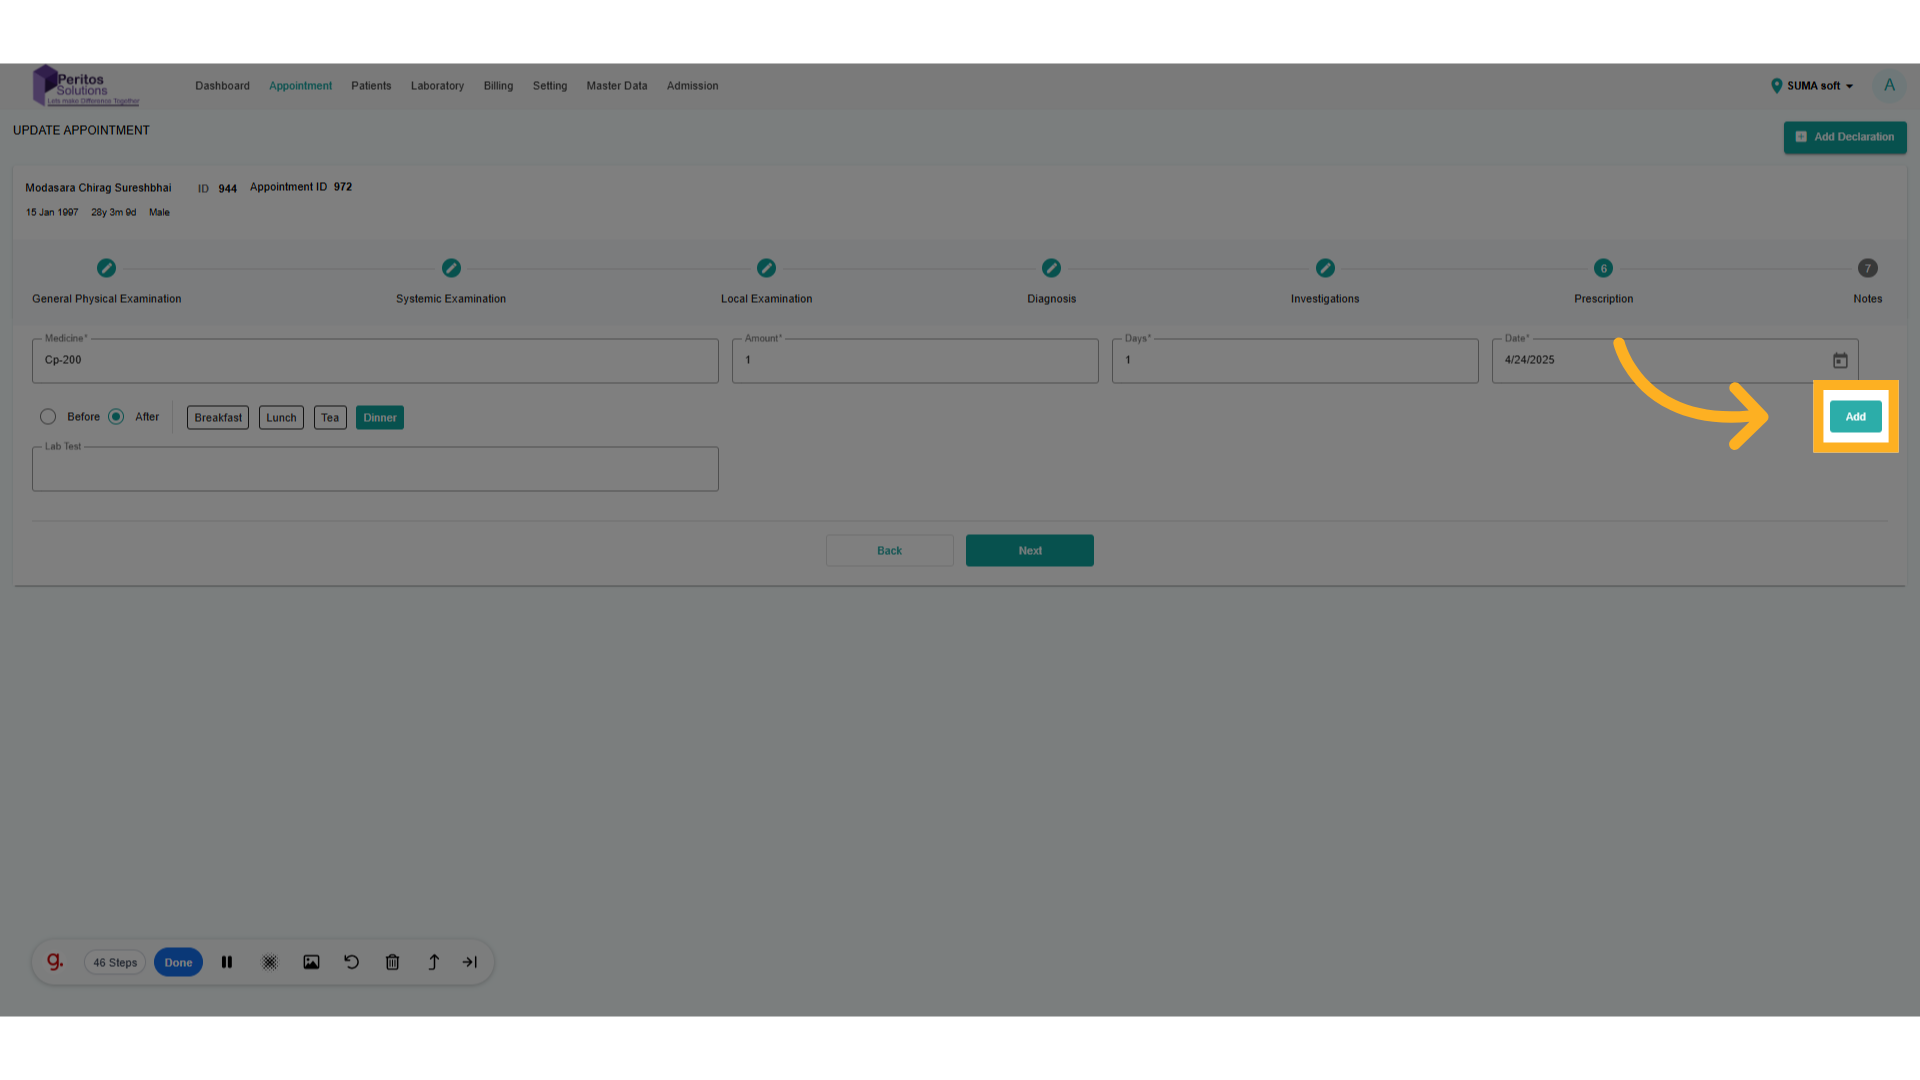
24. Click “Add.”
Review all inputs to ensure they meet patient health requirements.
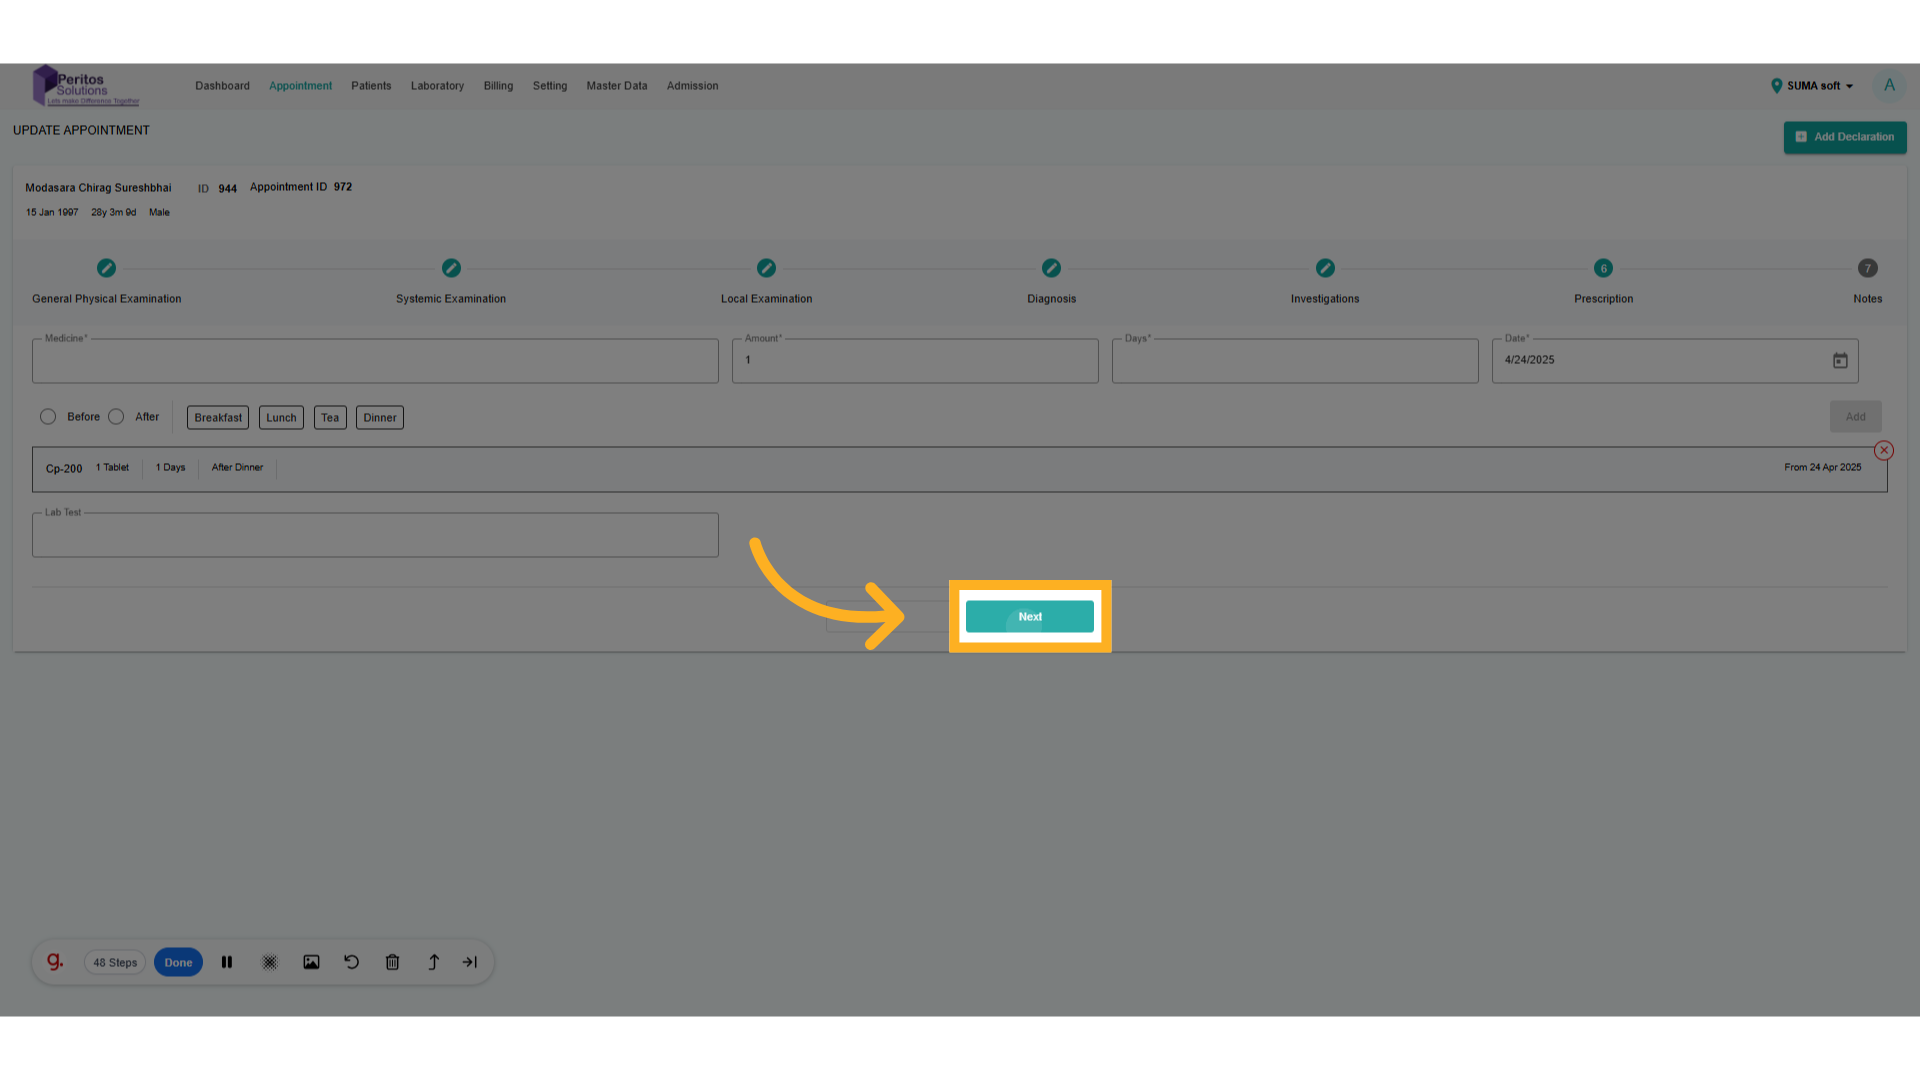
25. Click “Next”
Double-check the information for accuracy before finalizing the update.
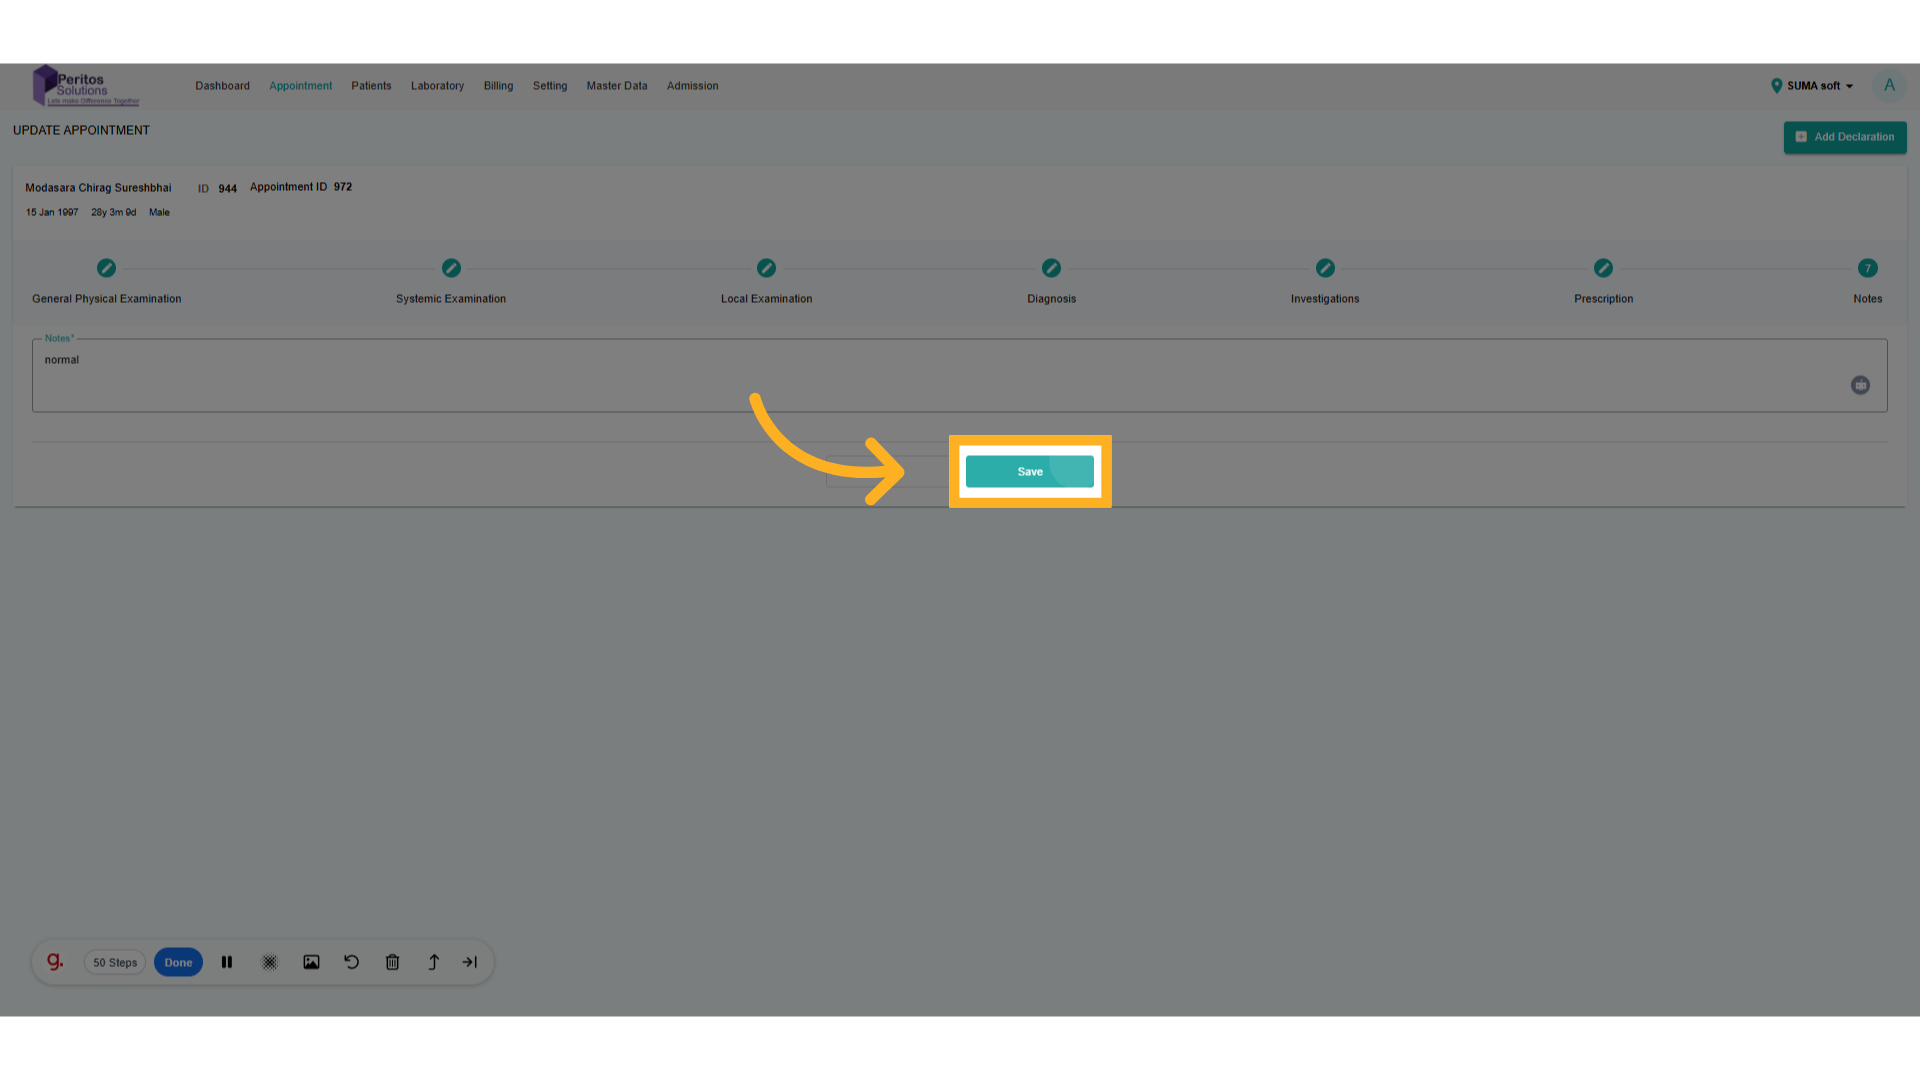
26. Click “Save.”
Make any final adjustments to ensure completeness in the appointment details.
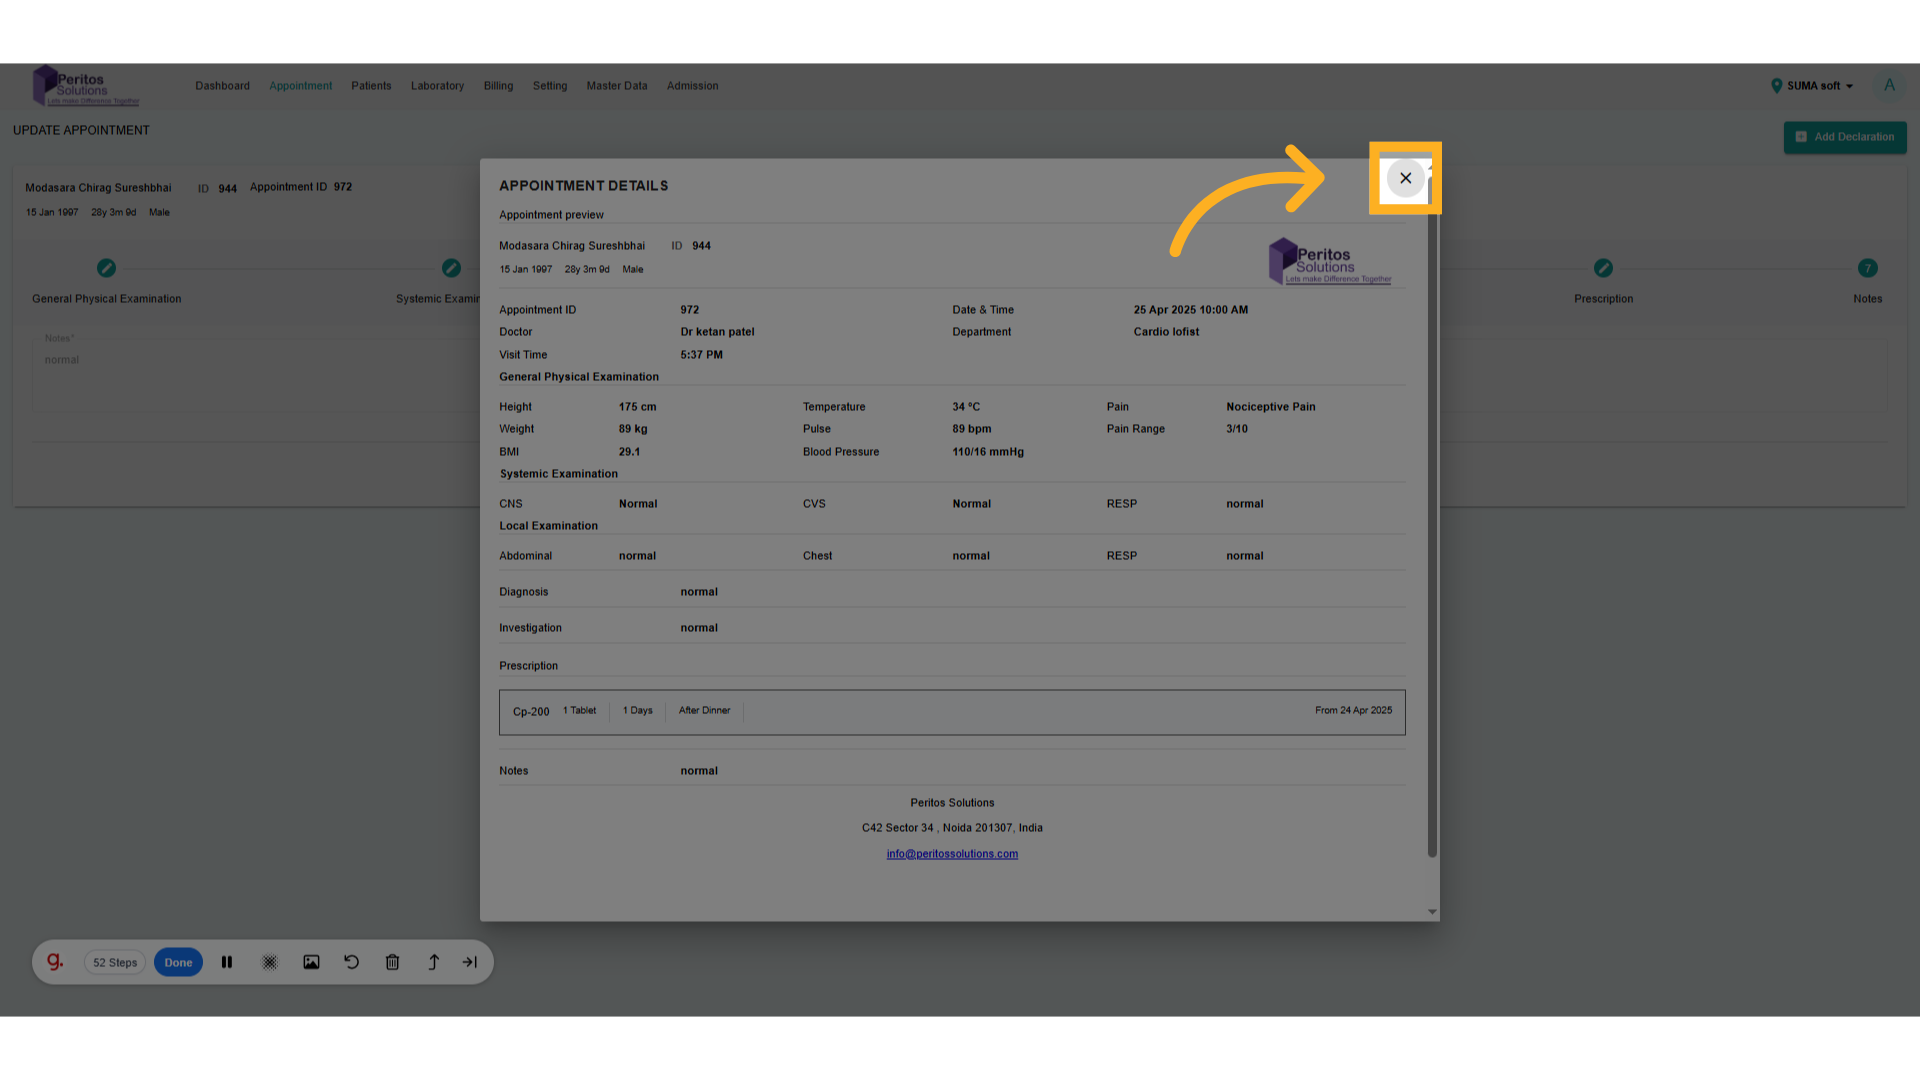
27. Click here to close the update appointment details.
Submit the updates to confirm all changes are saved and ready for the next appointment.
By utilizing the appointment update feature, users will experience improved efficiency, accuracy in health records, and enhanced patient care. This tool is instrumental in ensuring timely and relevant information is available for better decision-making in healthcare practices.